Getting started
Open a gang sheet product on the store you're shopping. Depending on how the store set things up, you'll see one of these buttons:
- Build It: open the full gang sheet editor and arrange multiple designs on a sheet.
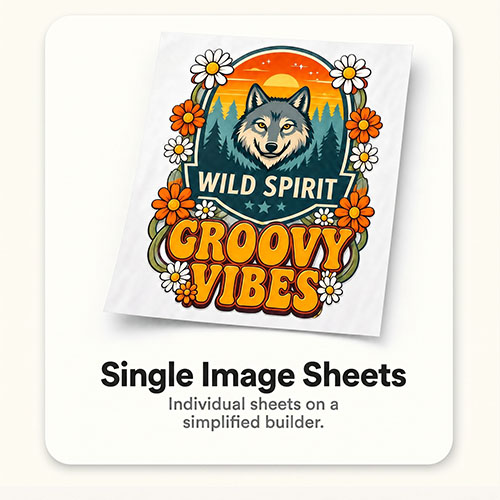
- Upload Image: place a single design on a sheet size you choose.
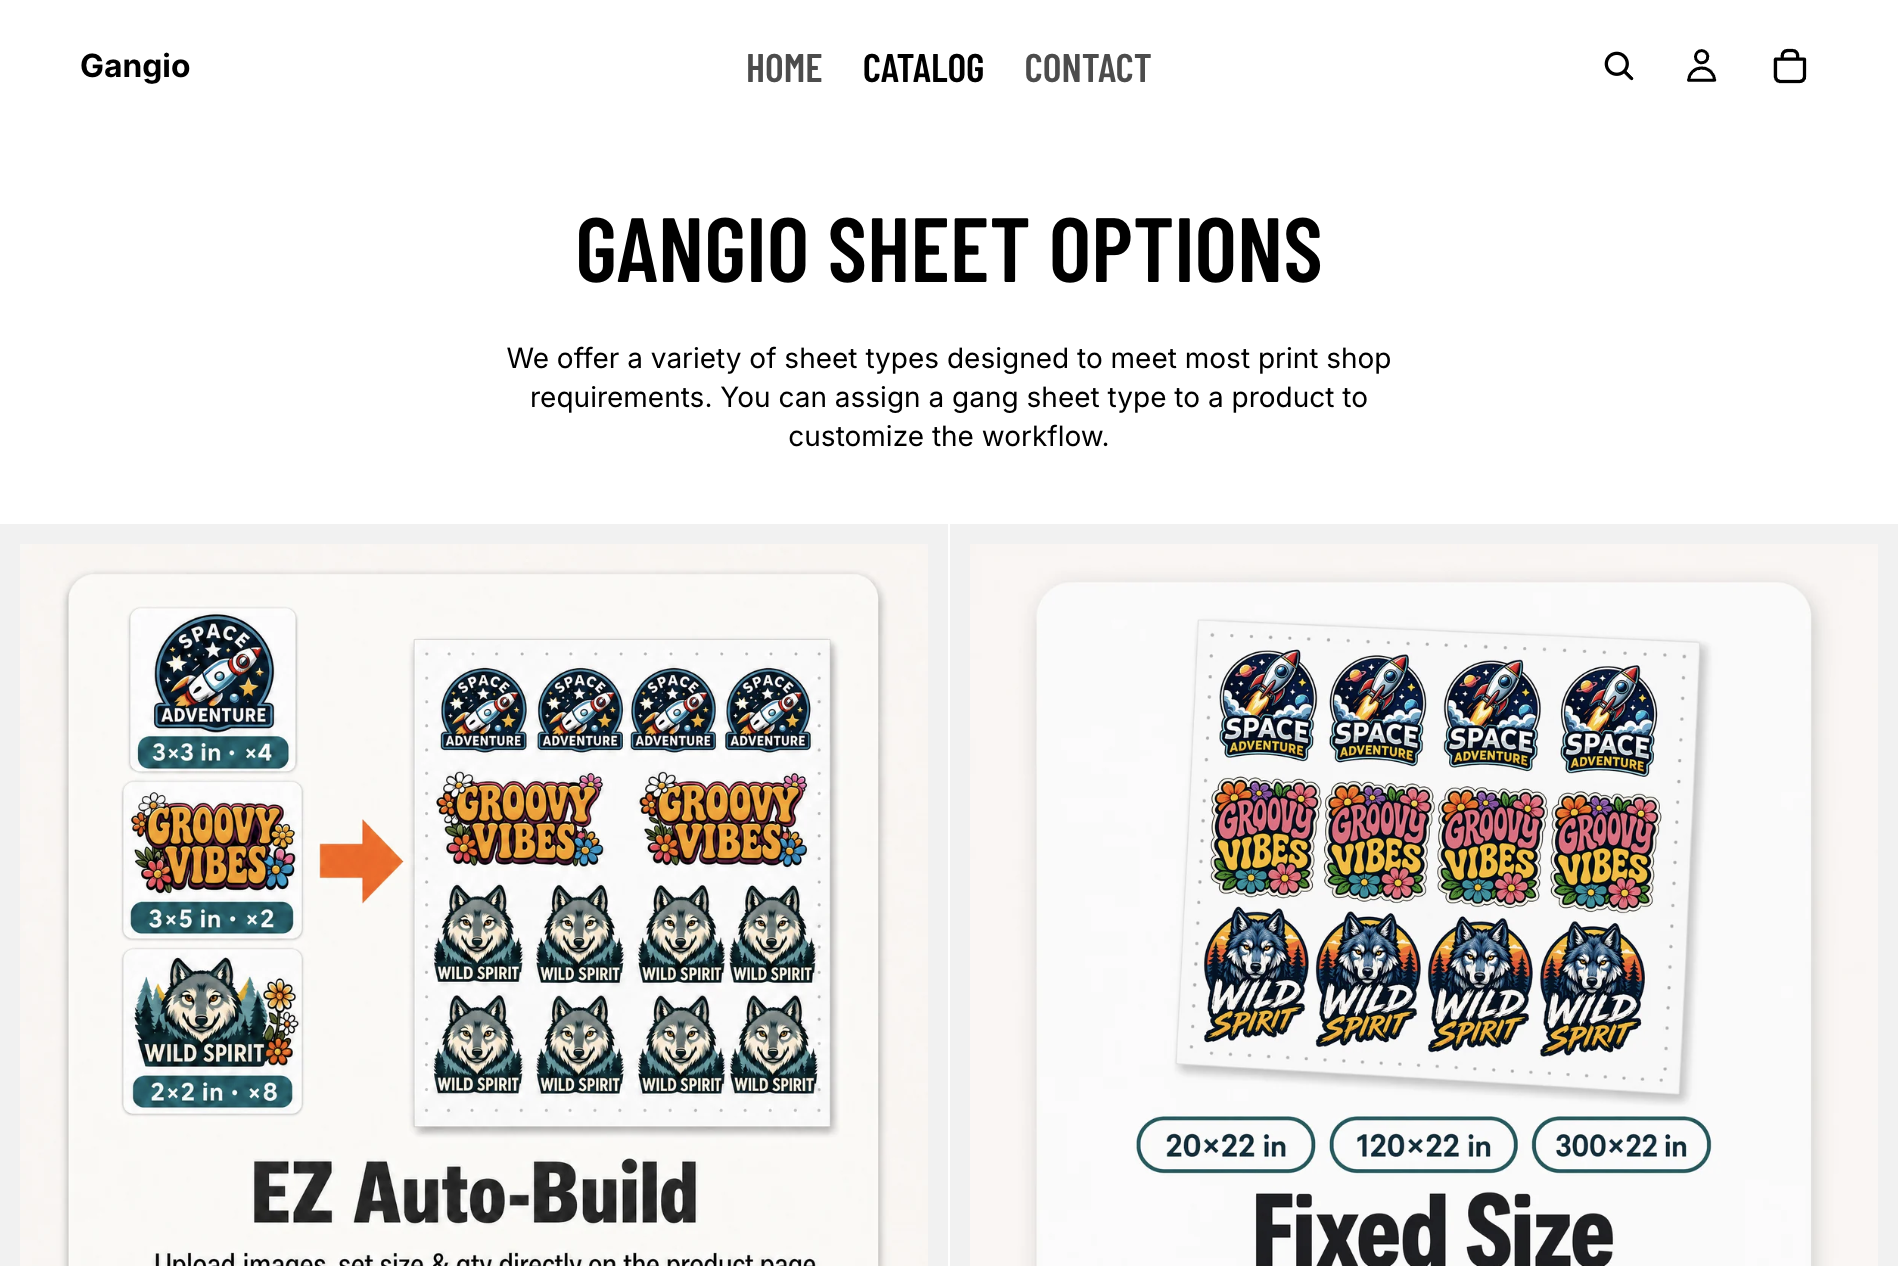
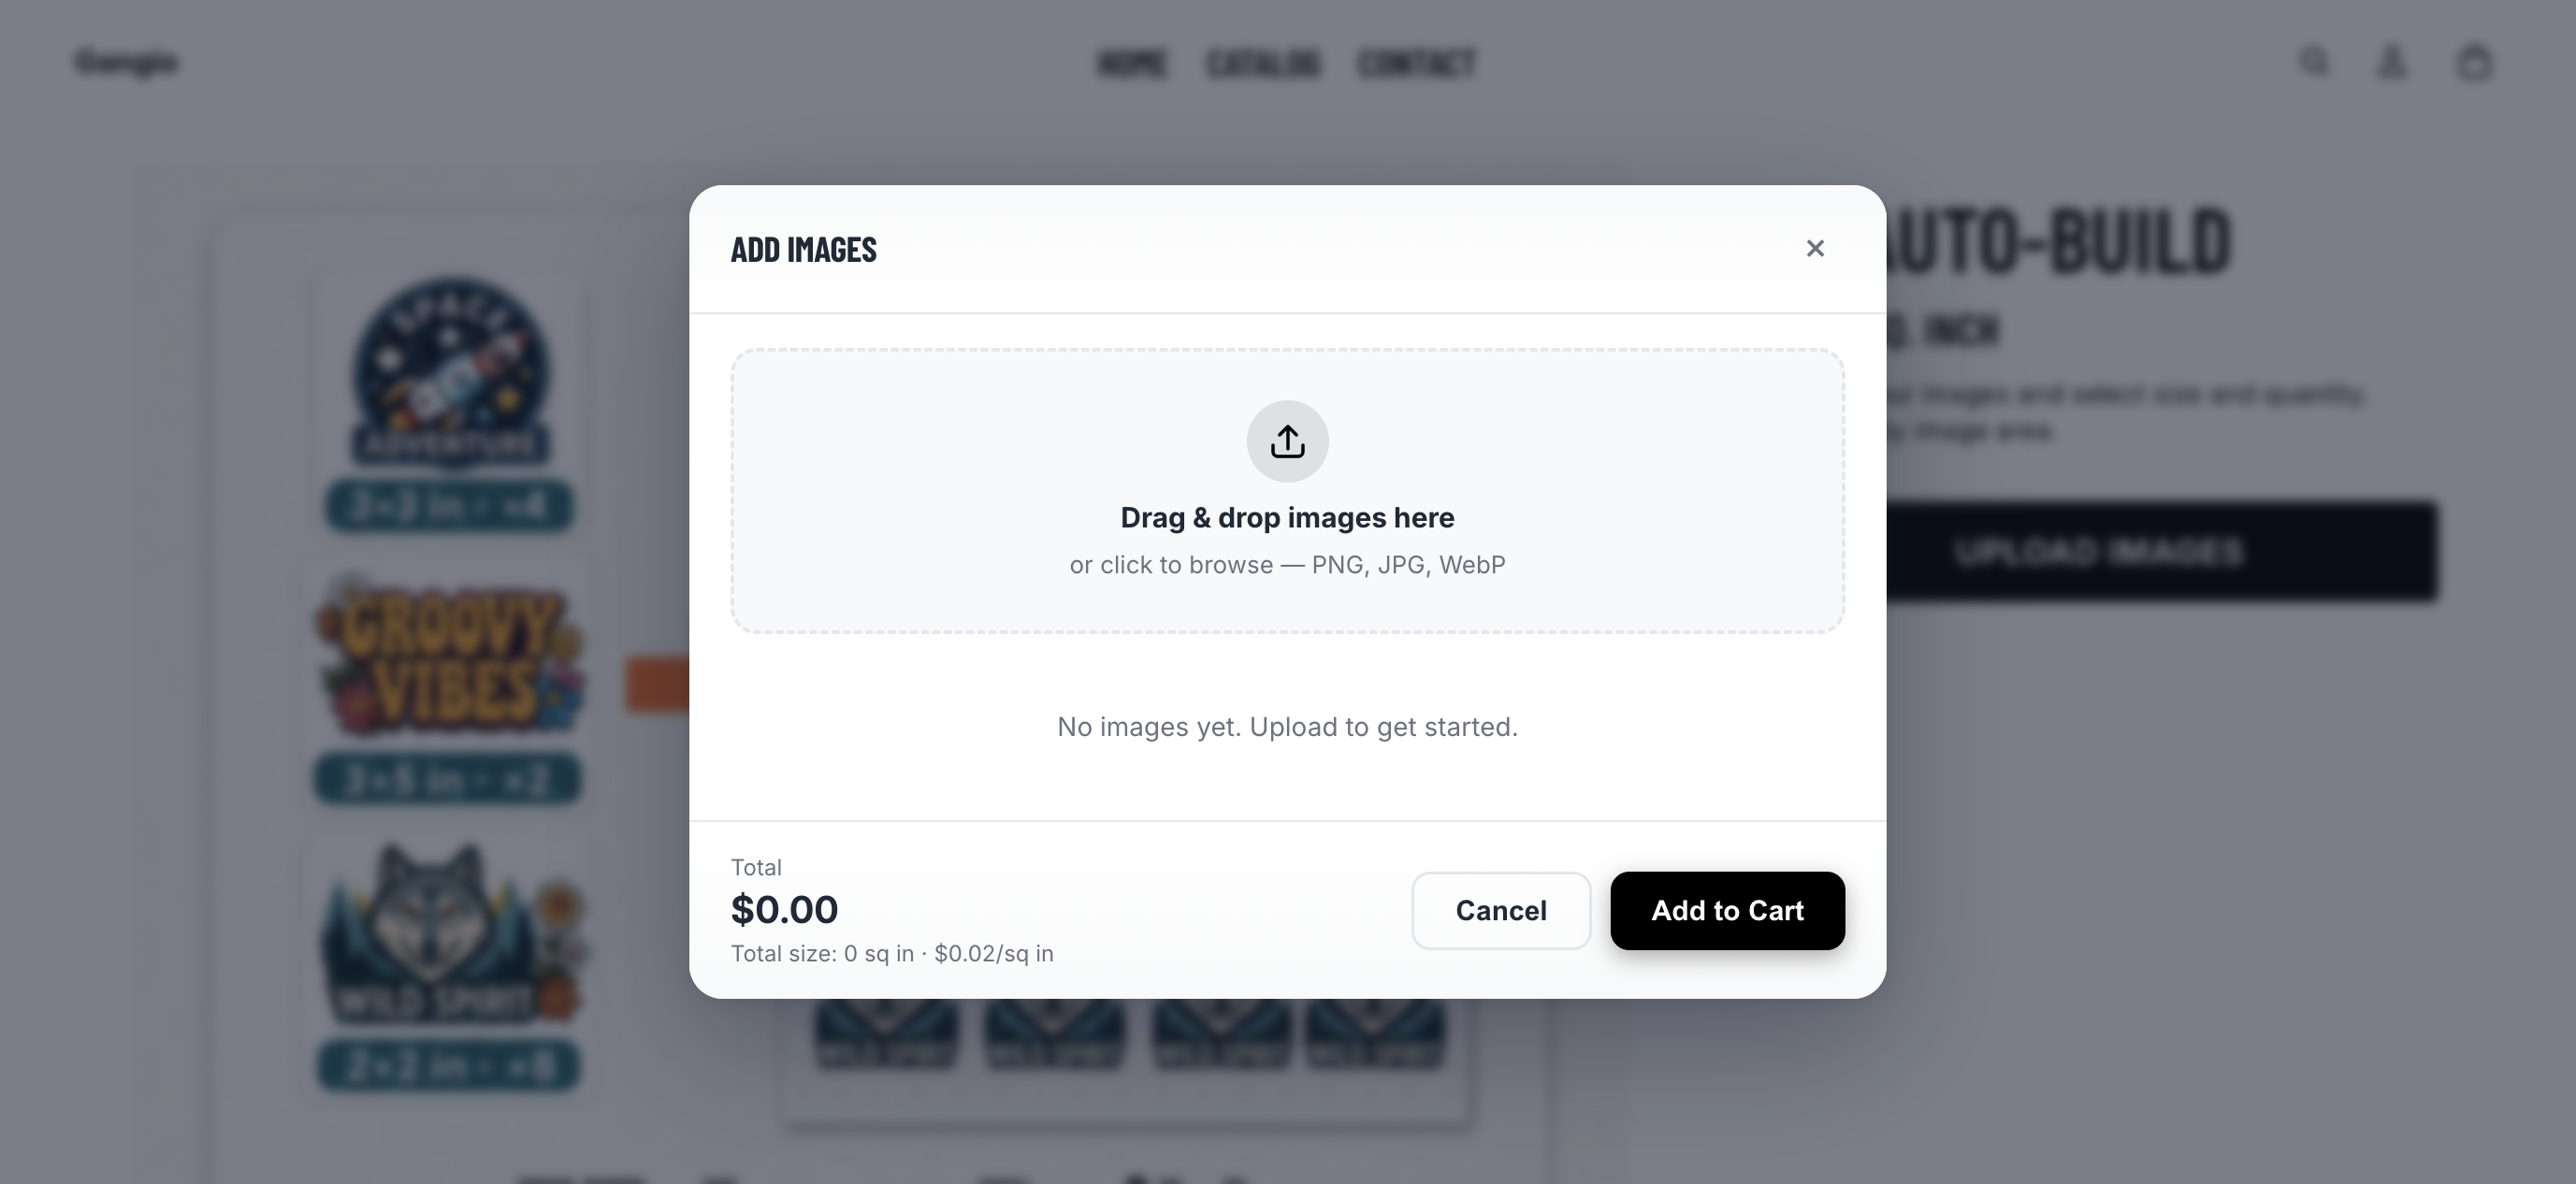
- Add Images: upload designs with size and quantity on the product page (no full editor). The store packs them into a gang sheet automatically when you order.
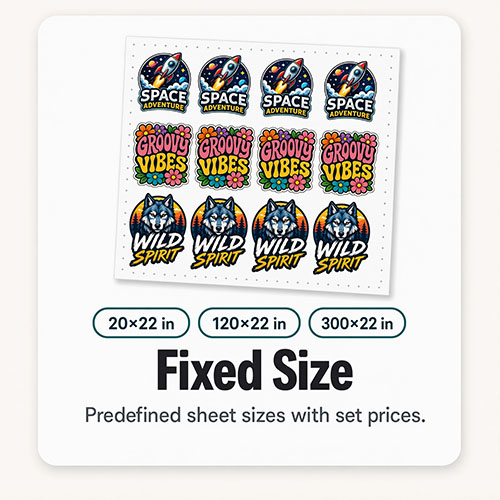
- Upload Gang Sheet: upload a gang sheet you already designed elsewhere.
The first time you open the full builder, a short tutorial highlights the main controls. You can skip it anytime.
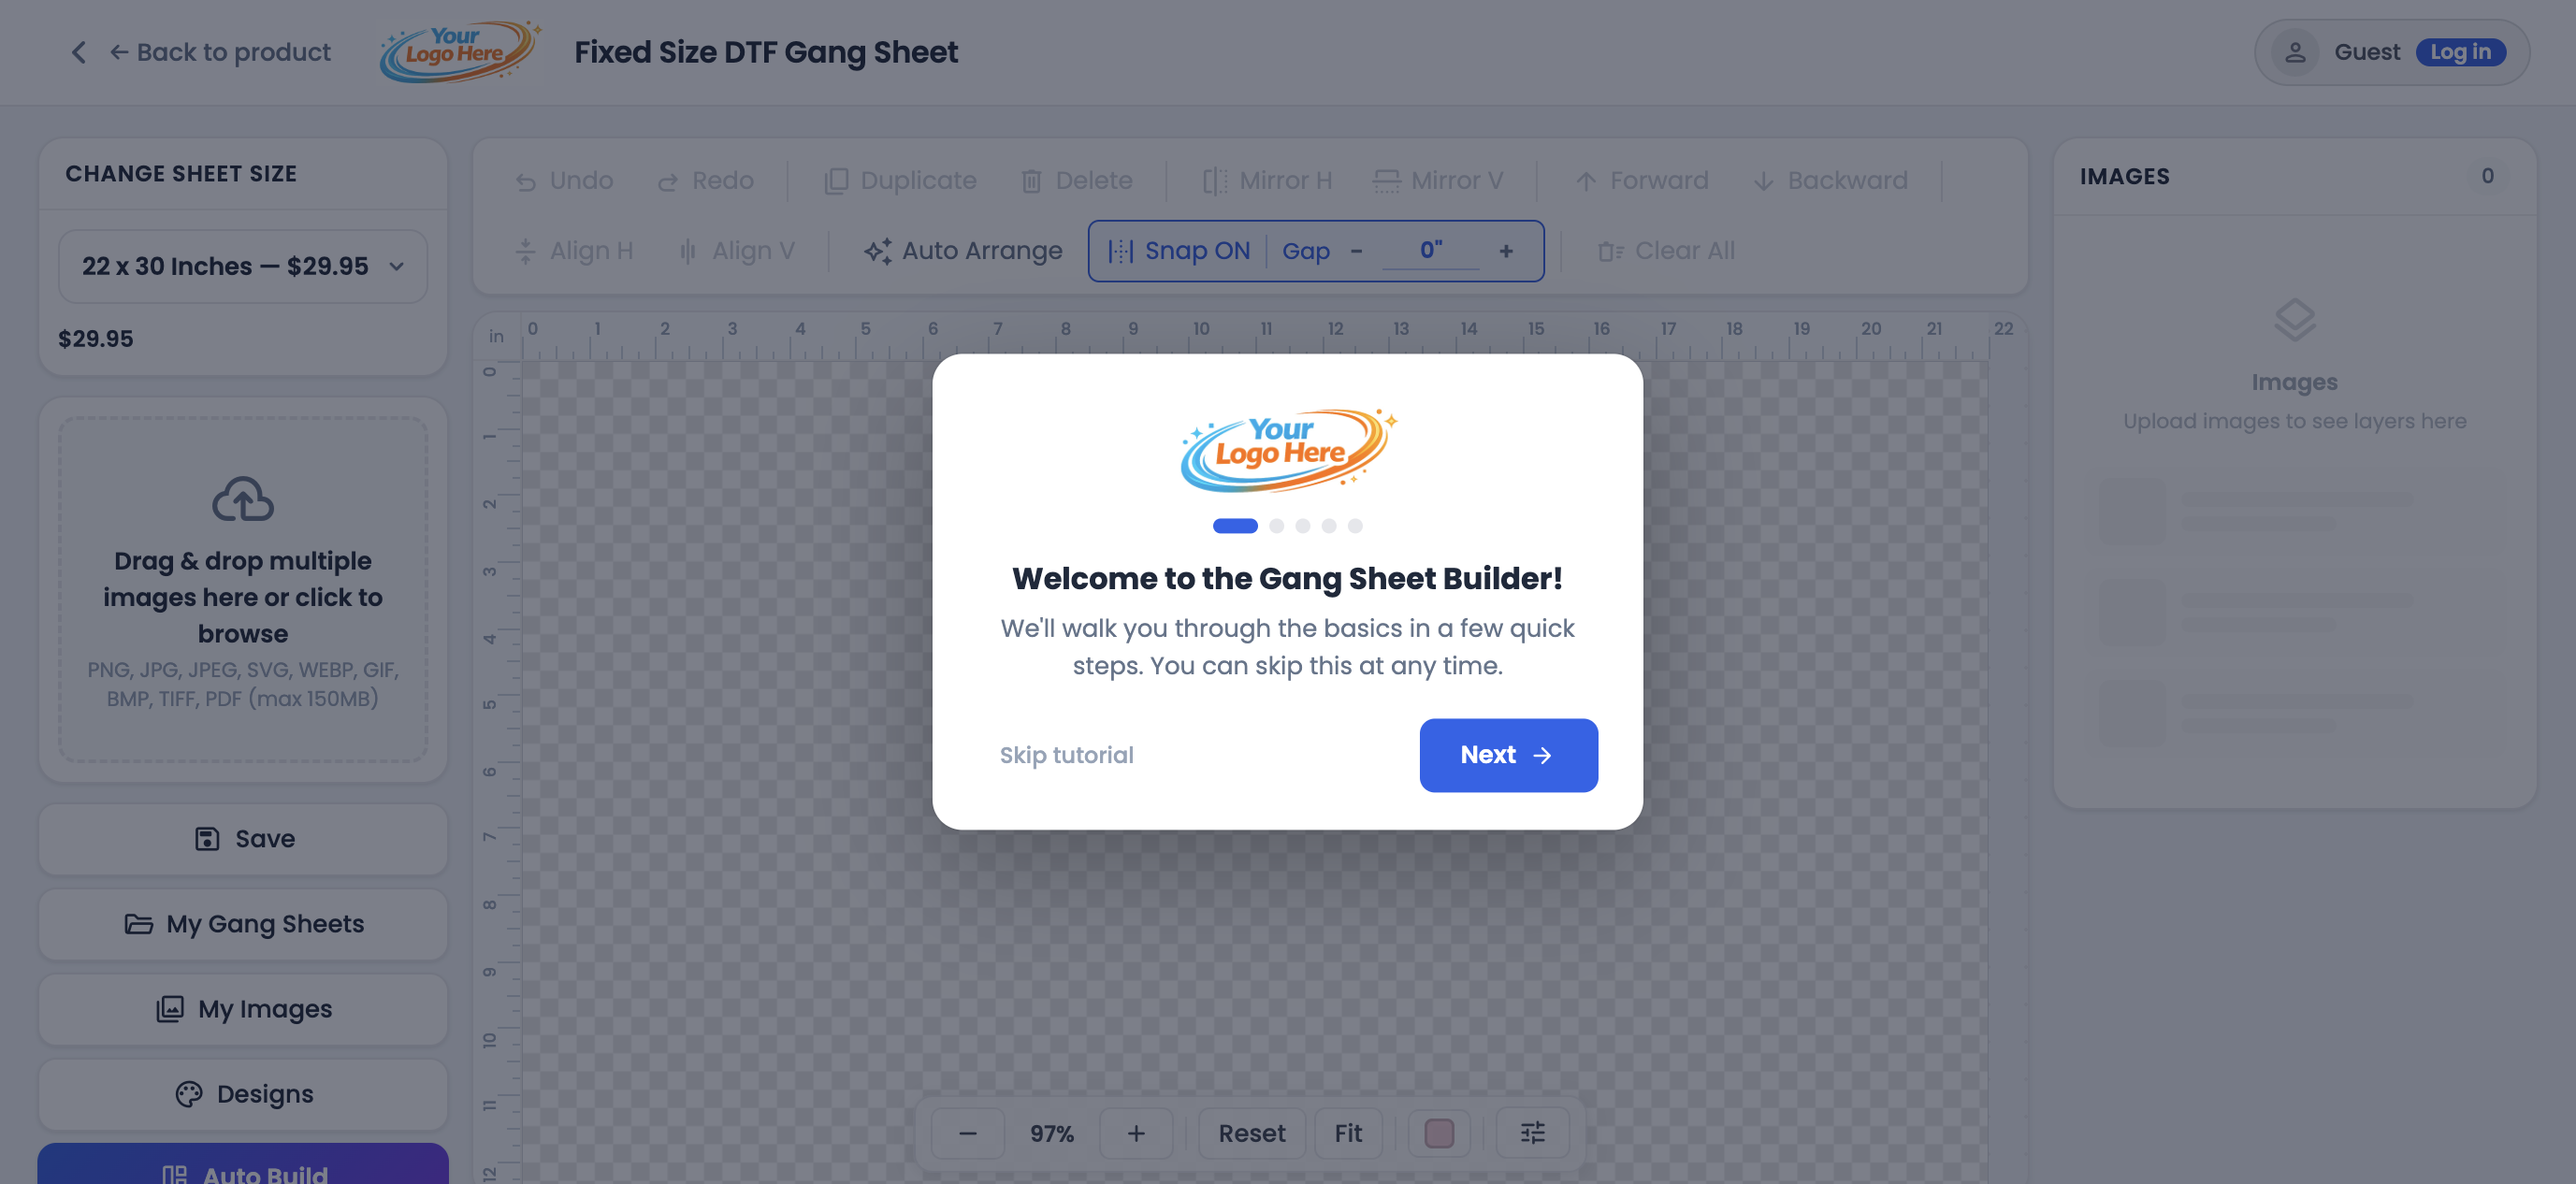
Build It: multi-image gang sheets
This is the classic gang sheet workflow. Click Build It (or Build Gang Sheet) on the product page to open the full-screen editor.
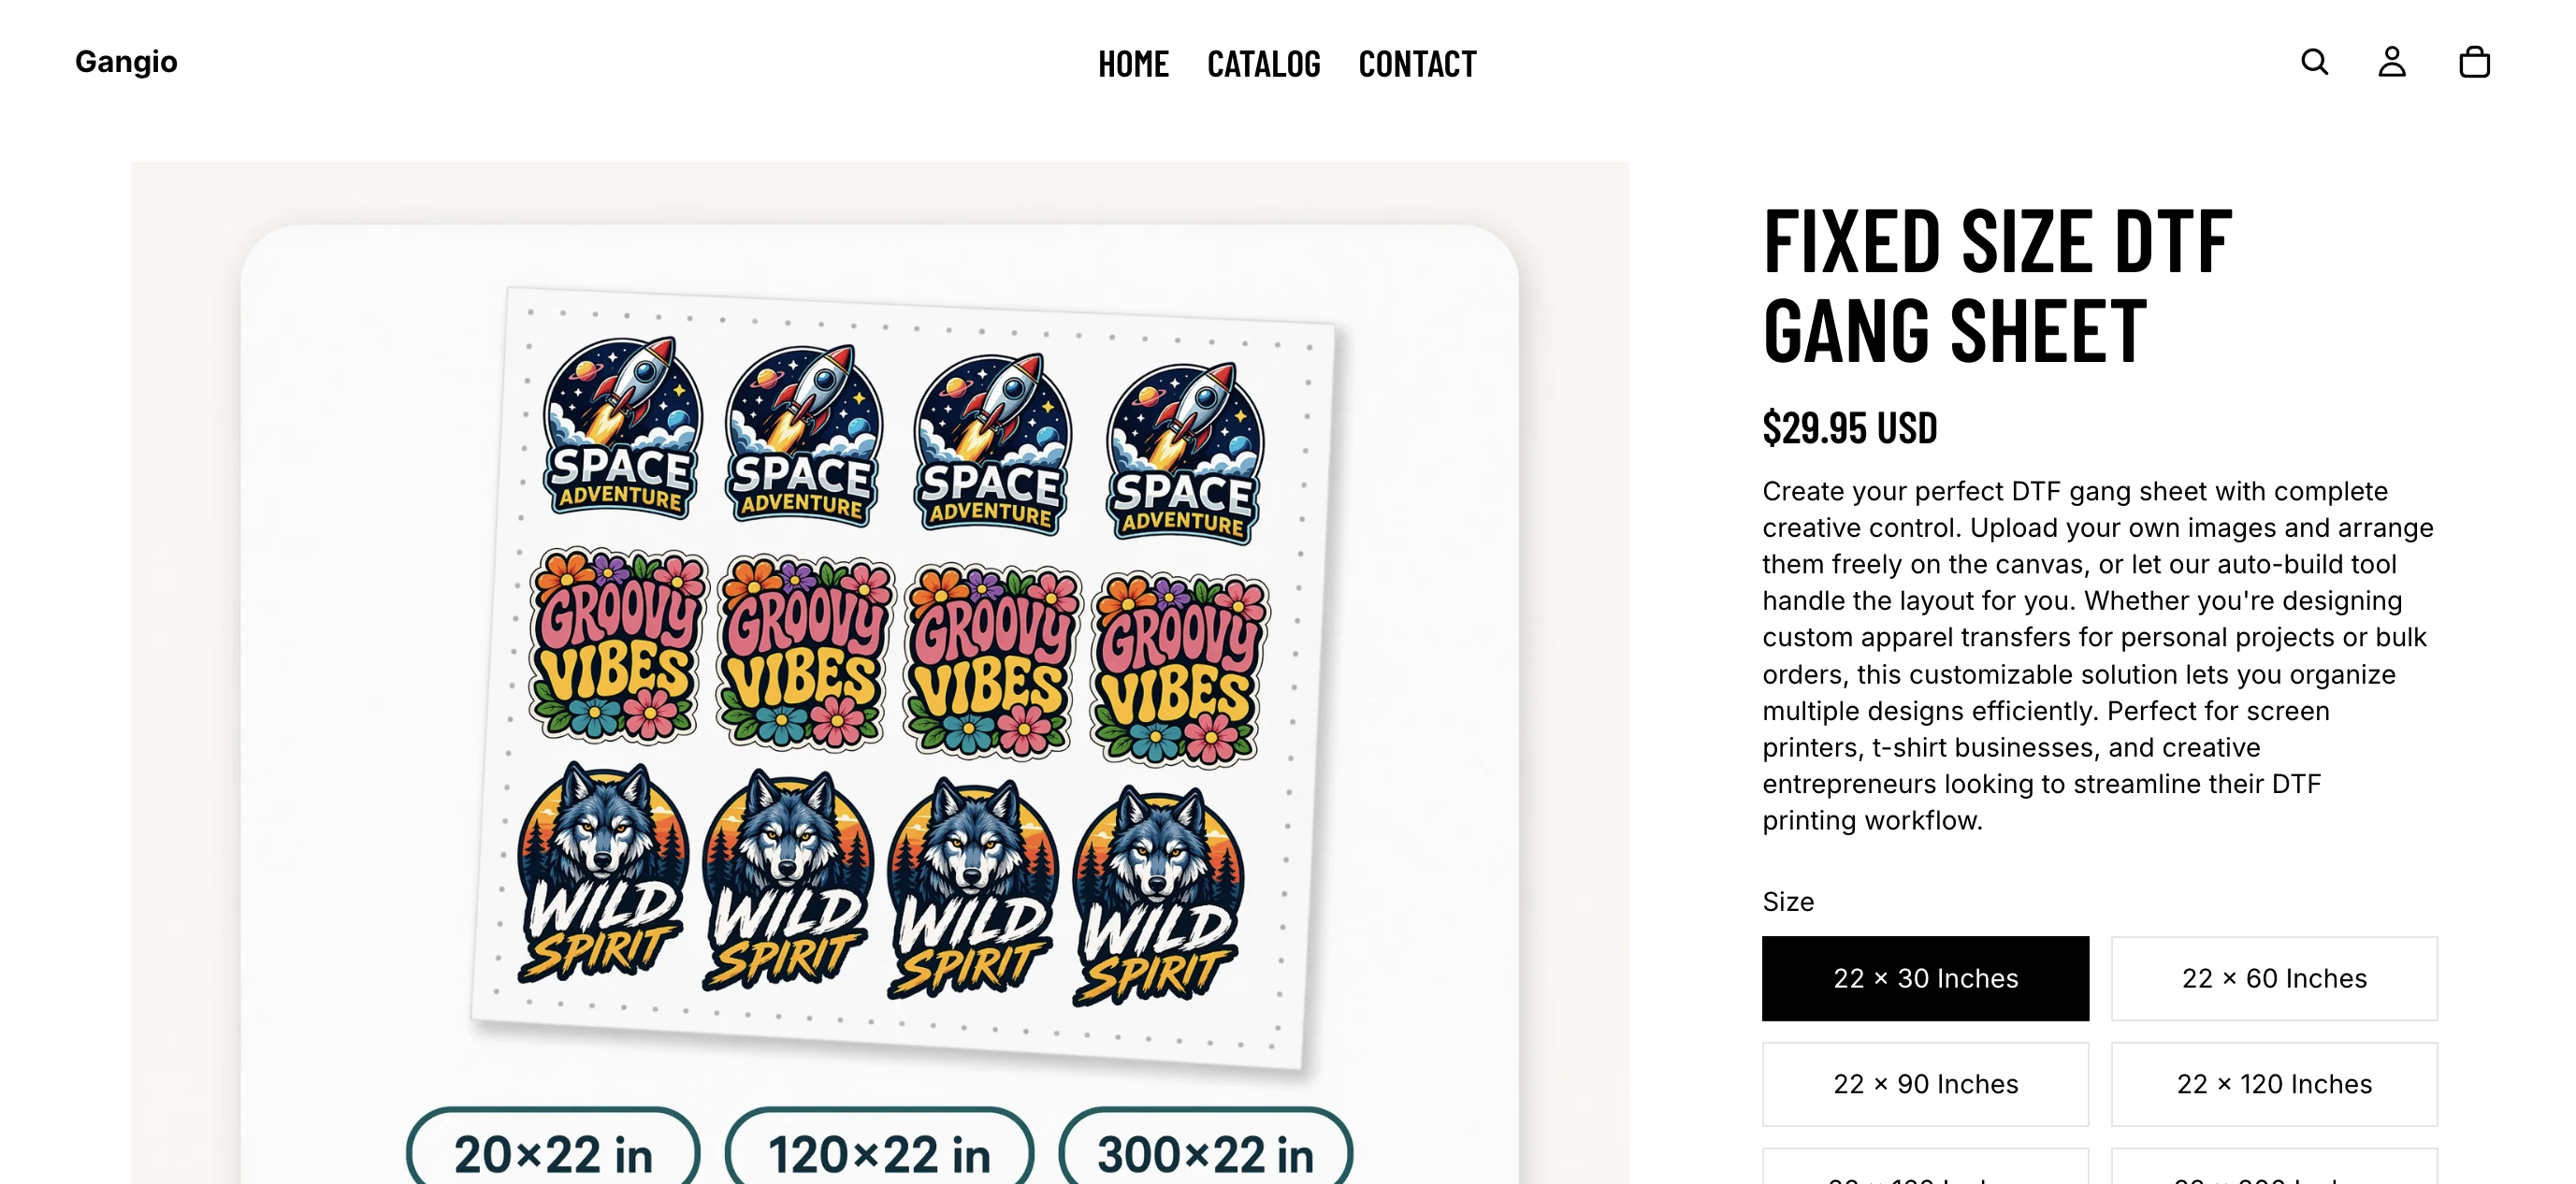
- Select your size. Choose a sheet size from the options on the left. The price updates to match the size you pick.
- Upload your images. Drag and drop files onto the upload zone, or click to browse. You can upload several at once. Supported formats include PNG, JPG, WebP, SVG, PDF, and Adobe Illustrator (.ai).
- Arrange on the canvas. Drag designs into place. Resize with the corner handles, rotate, flip, or duplicate from the toolbar. Snap and gap controls help keep spacing even.
- Add to cart. When the layout looks right, click Add to Cart. Gangio generates your sheet and adds it to the store's cart so you can check out as usual.
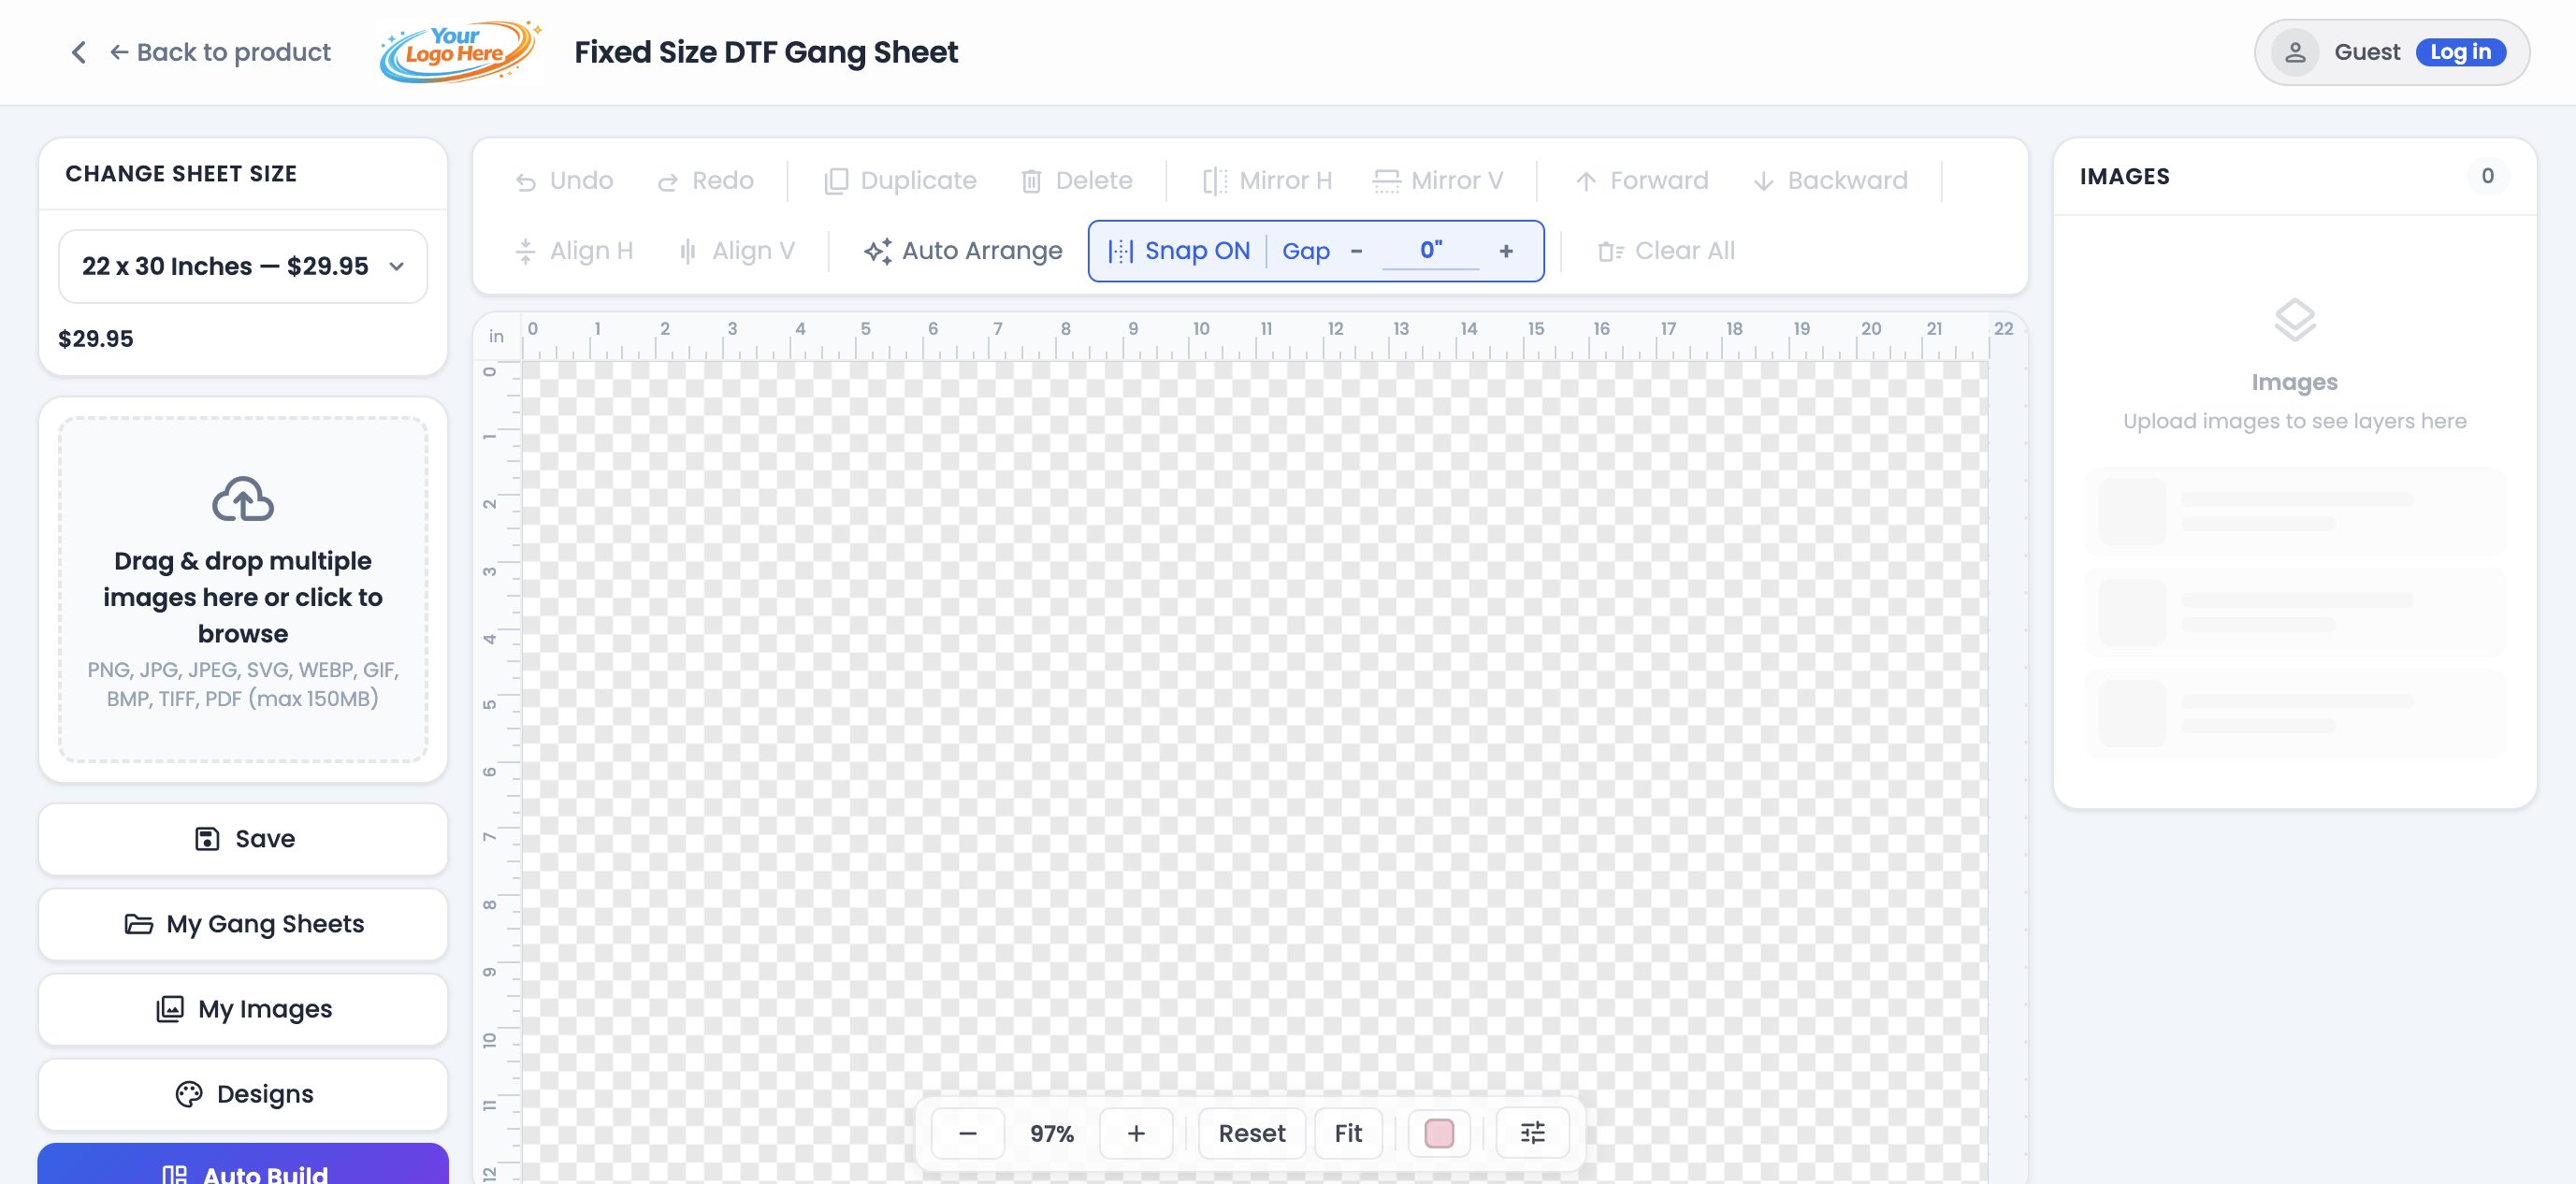
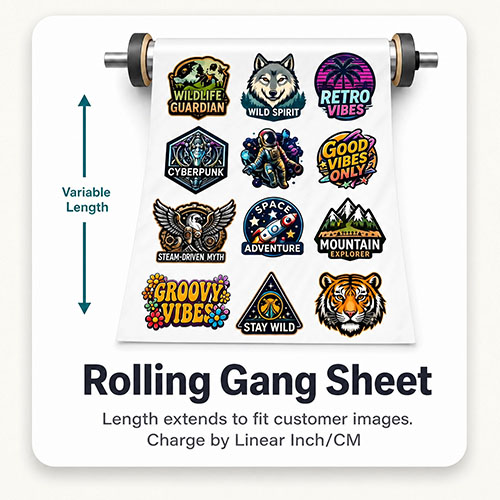
Rolling sheets
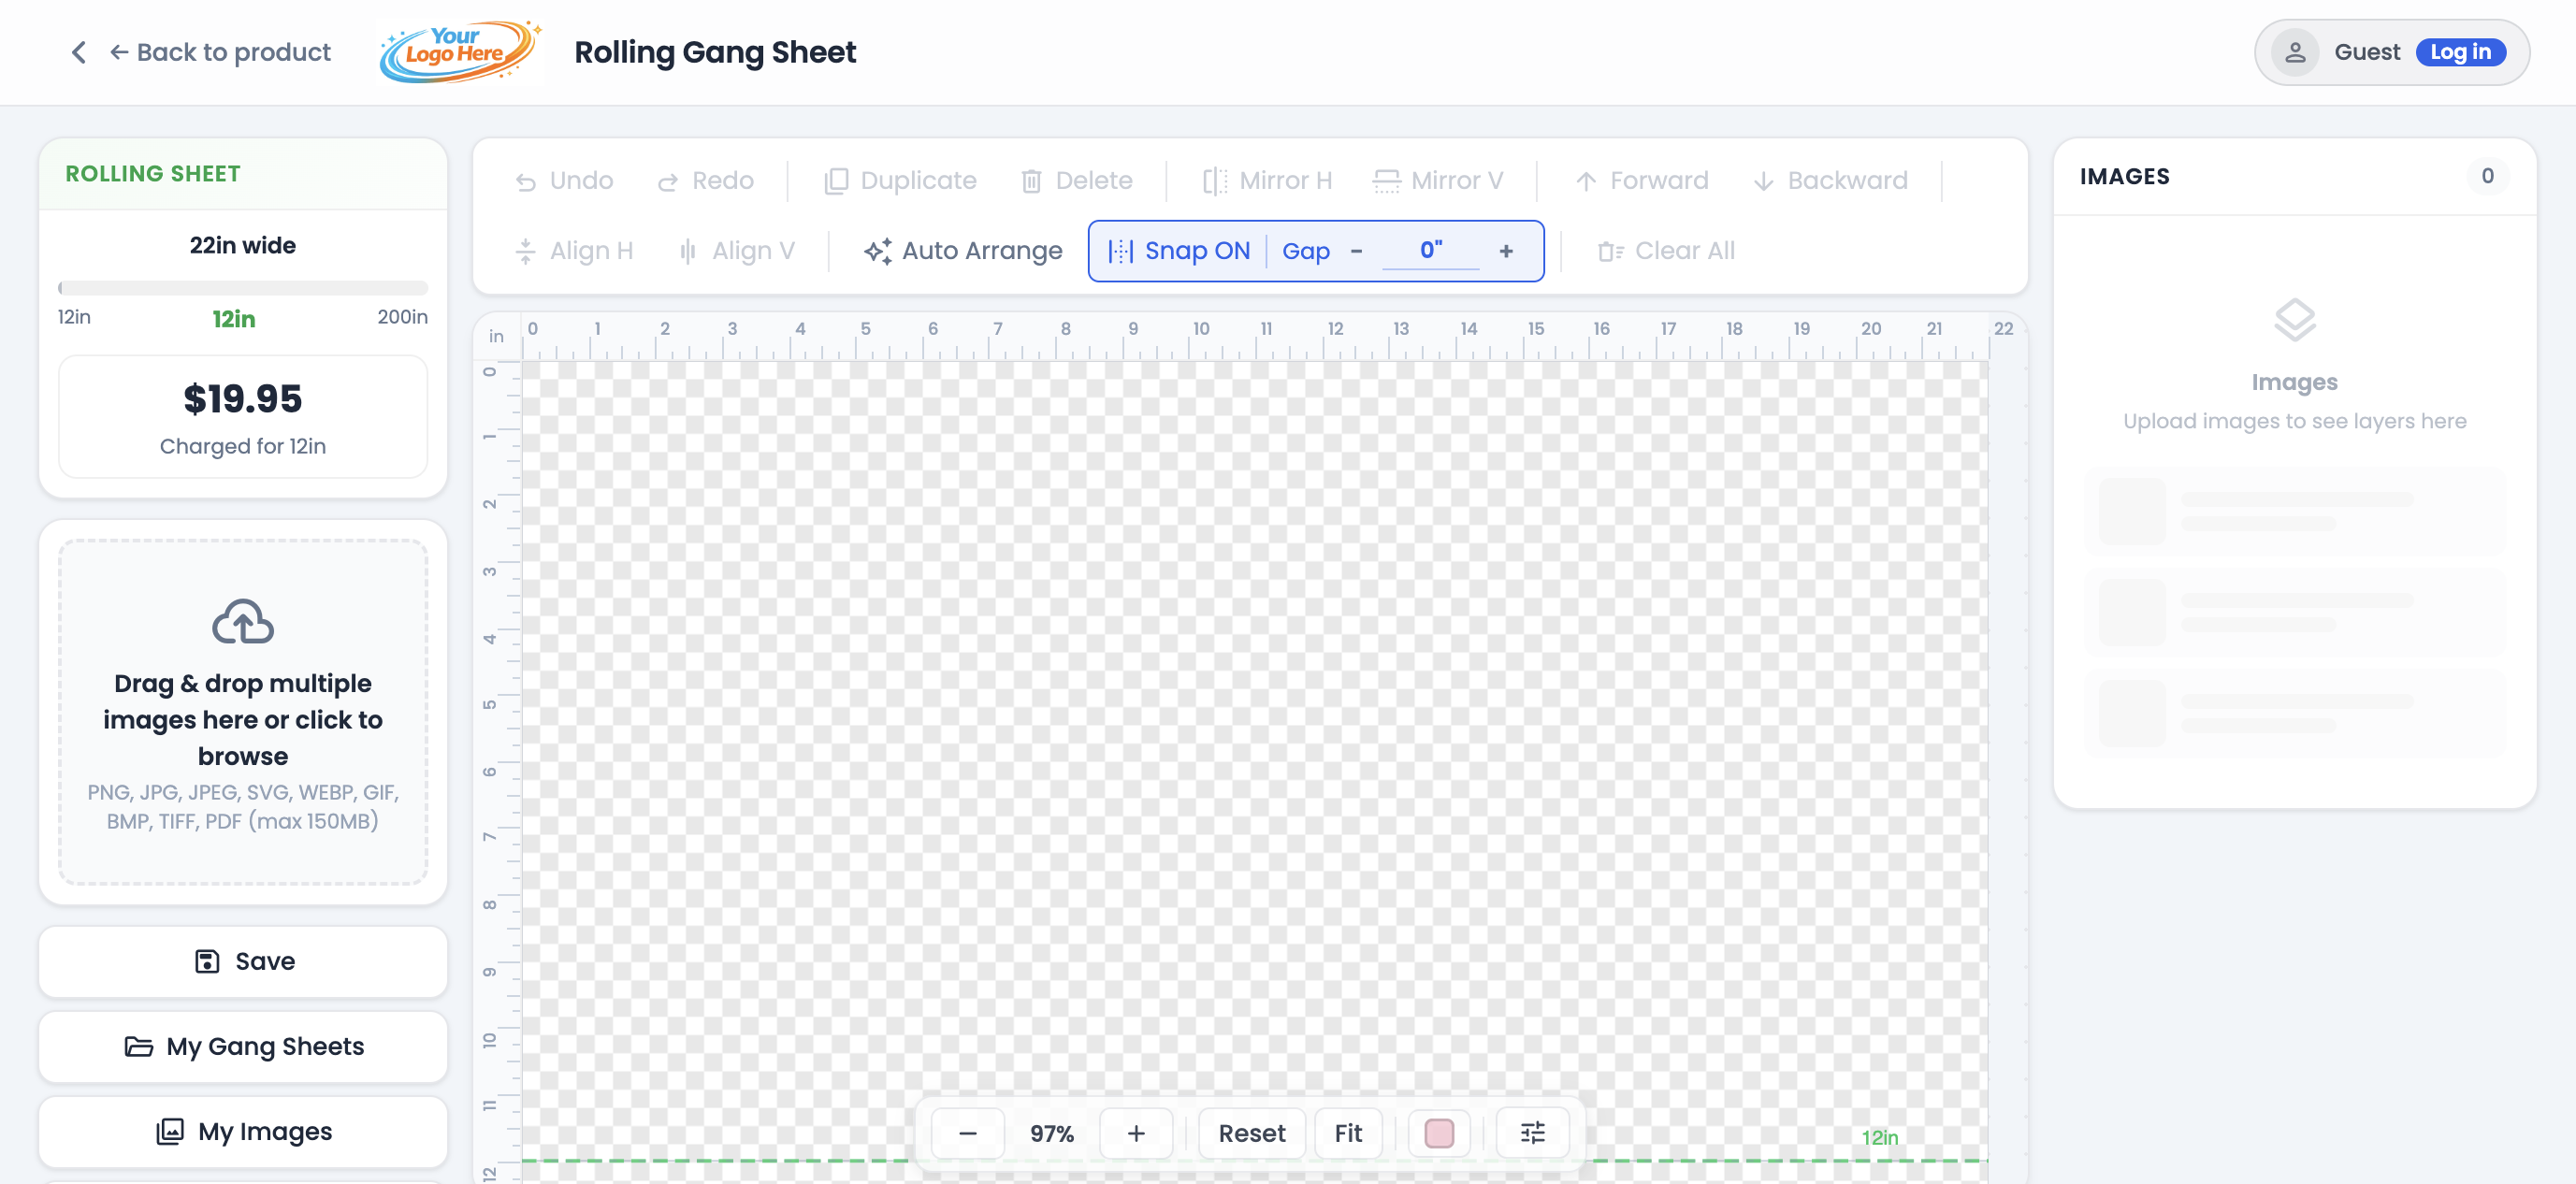
Some products use a rolling sheet: the width is fixed, and the length grows as you add images. You only pay for the length you use (within the store's min/max limits).
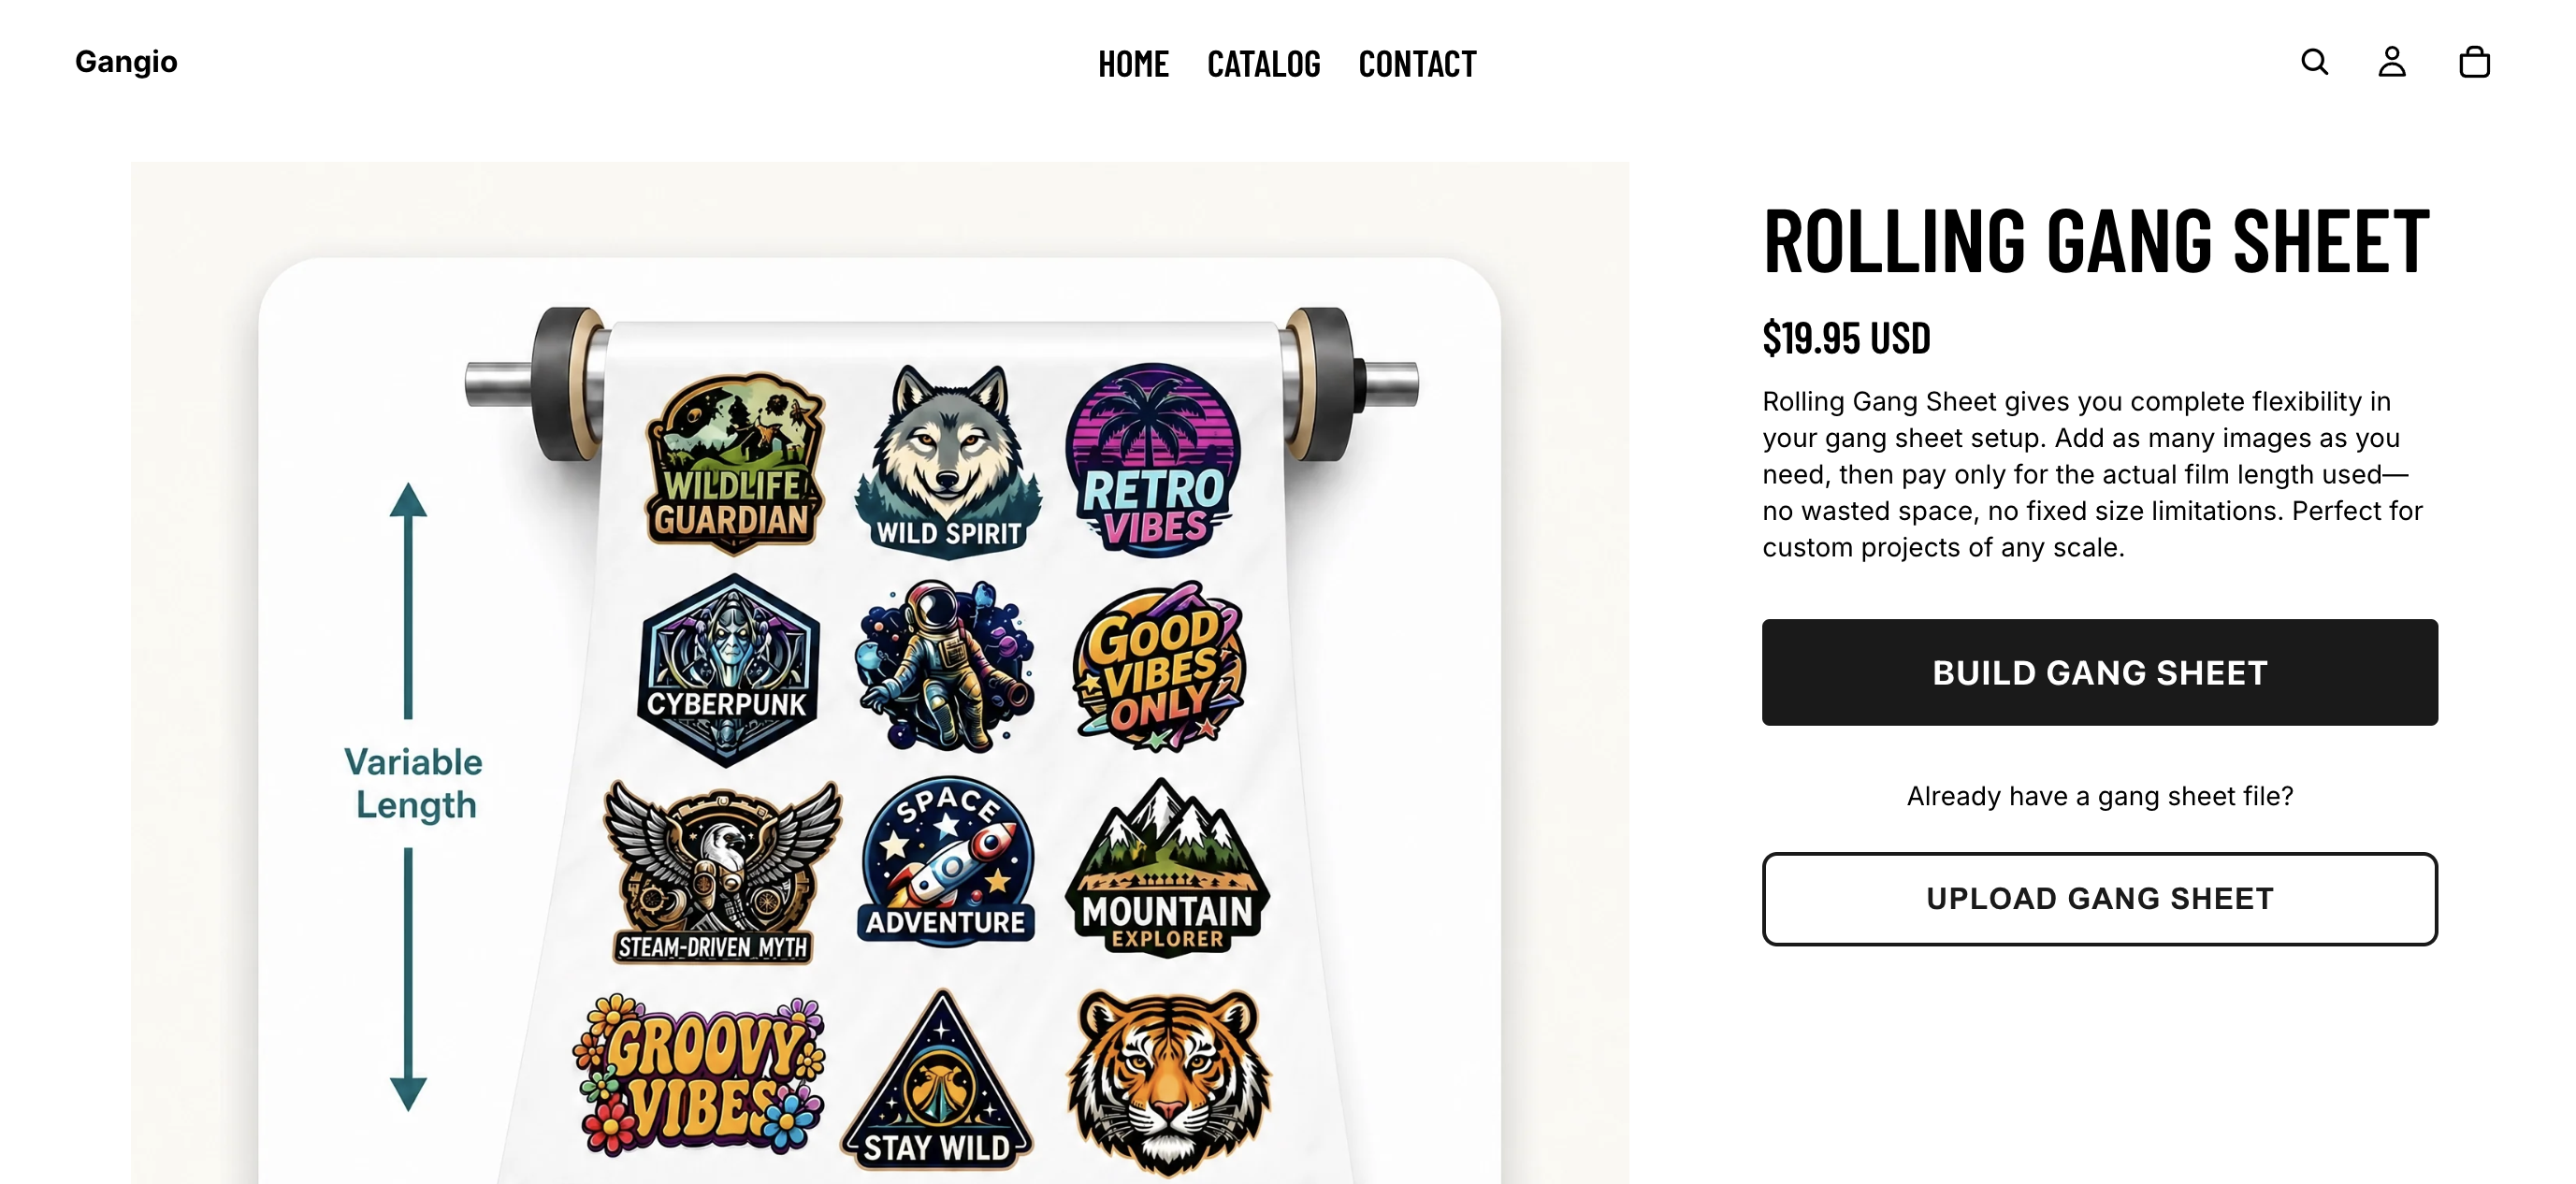
- Watch the live length and price as you place designs; both update as the sheet grows.
- Auto Arrange reflows your images and recalculates length and price right away.
- Cart previews show only the charged length of the sheet.
Single image sheets
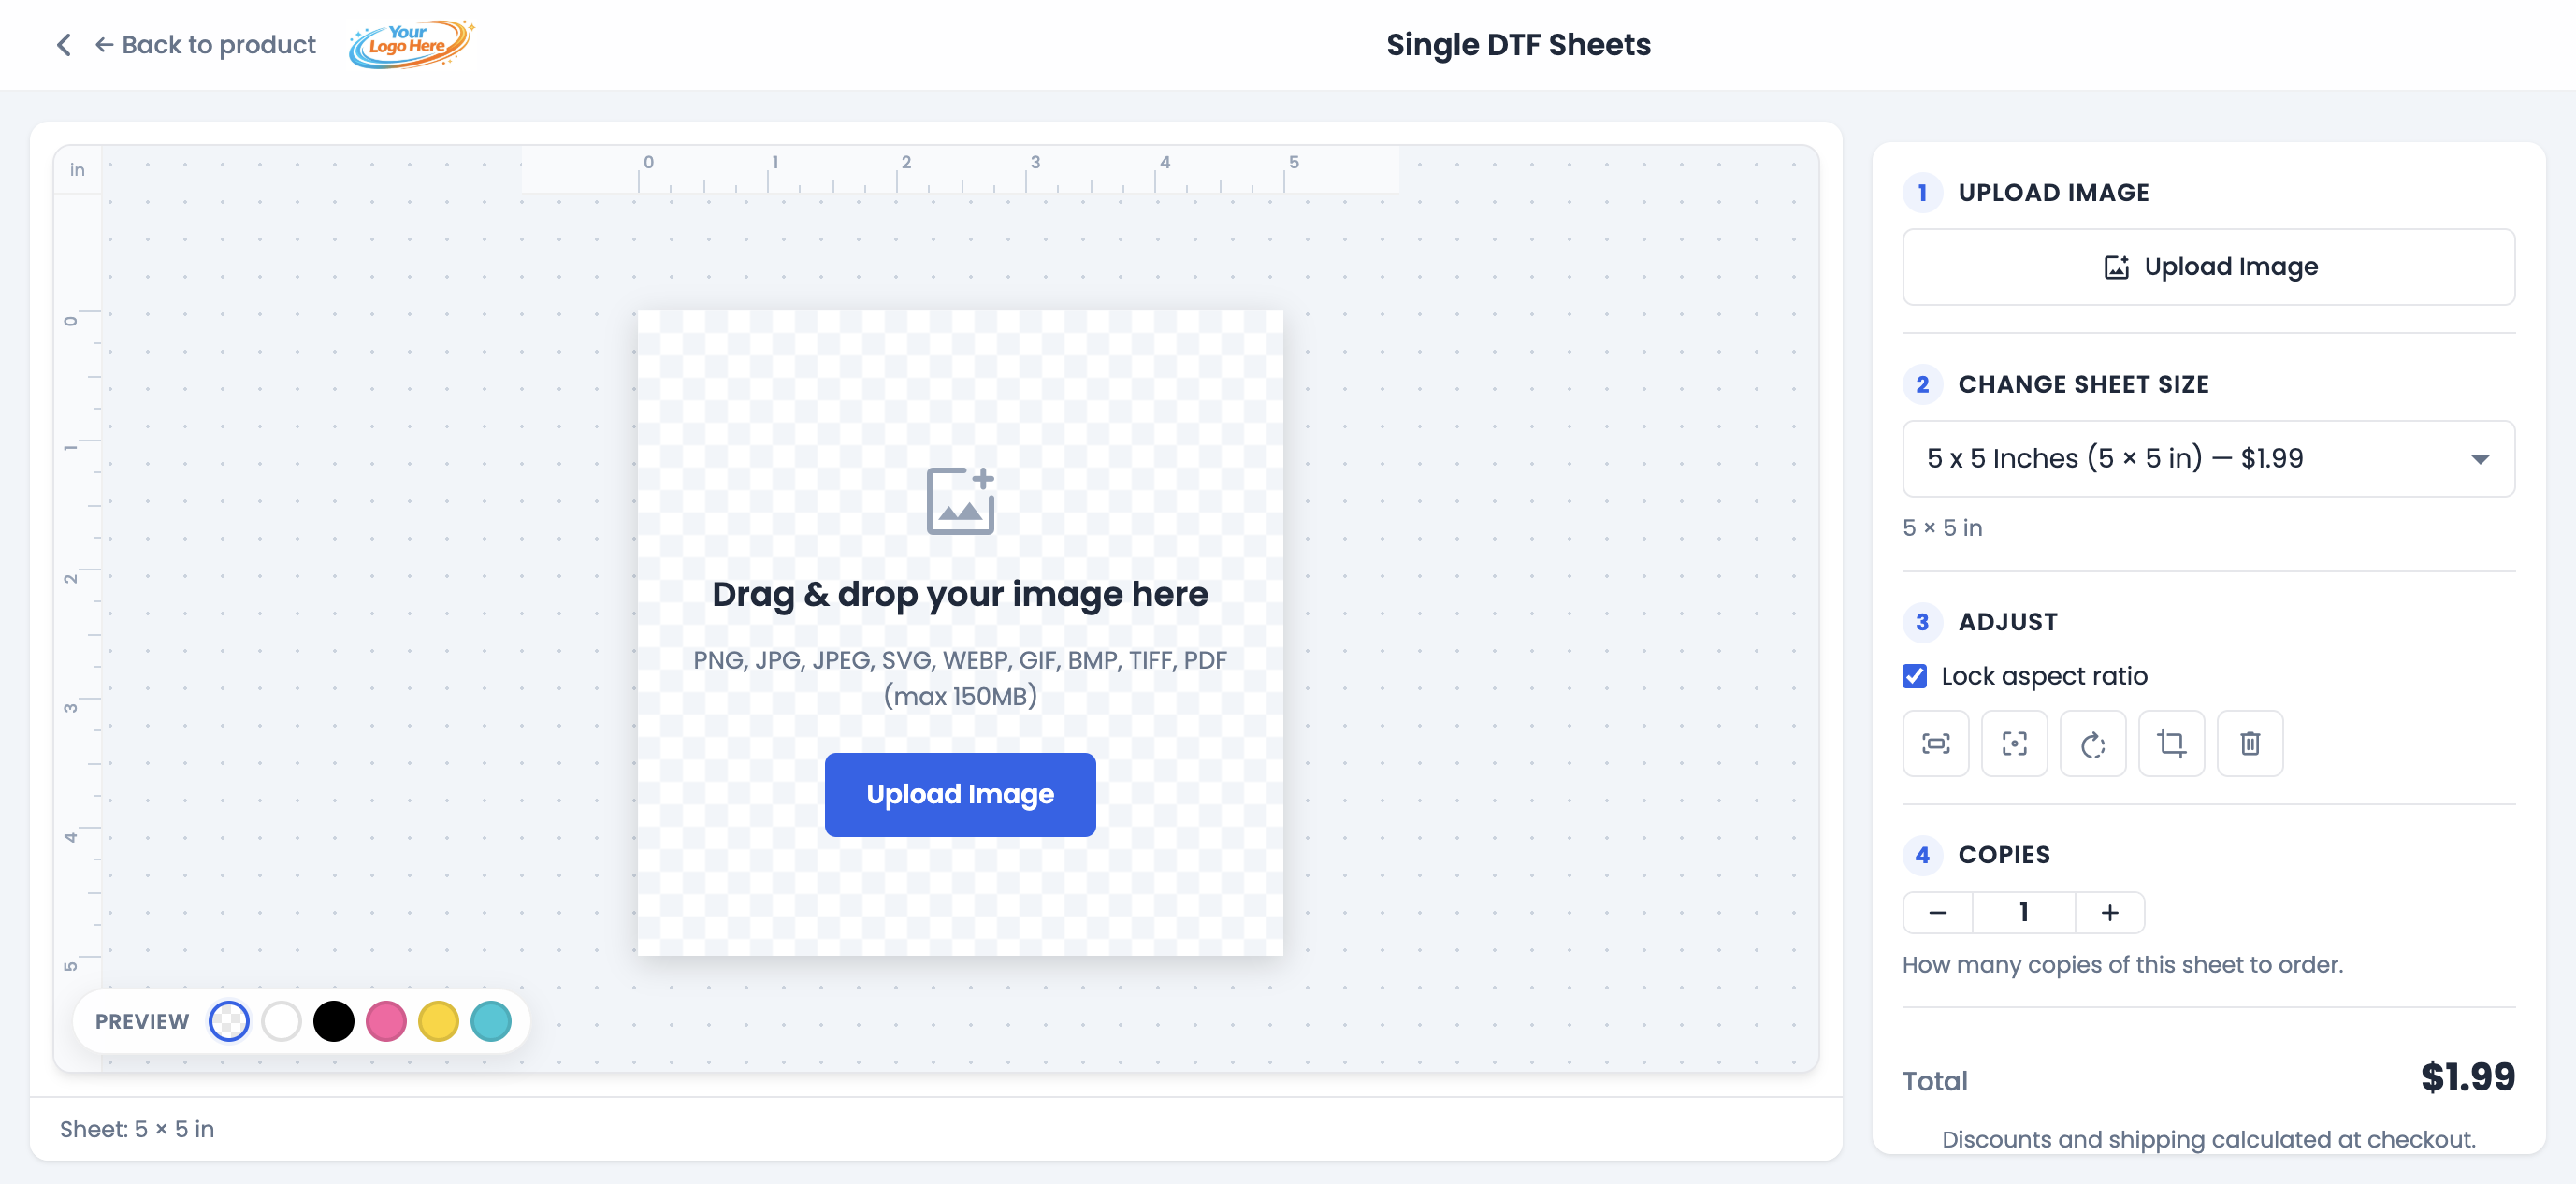
Click Upload Image when the product is set up for one design per sheet.
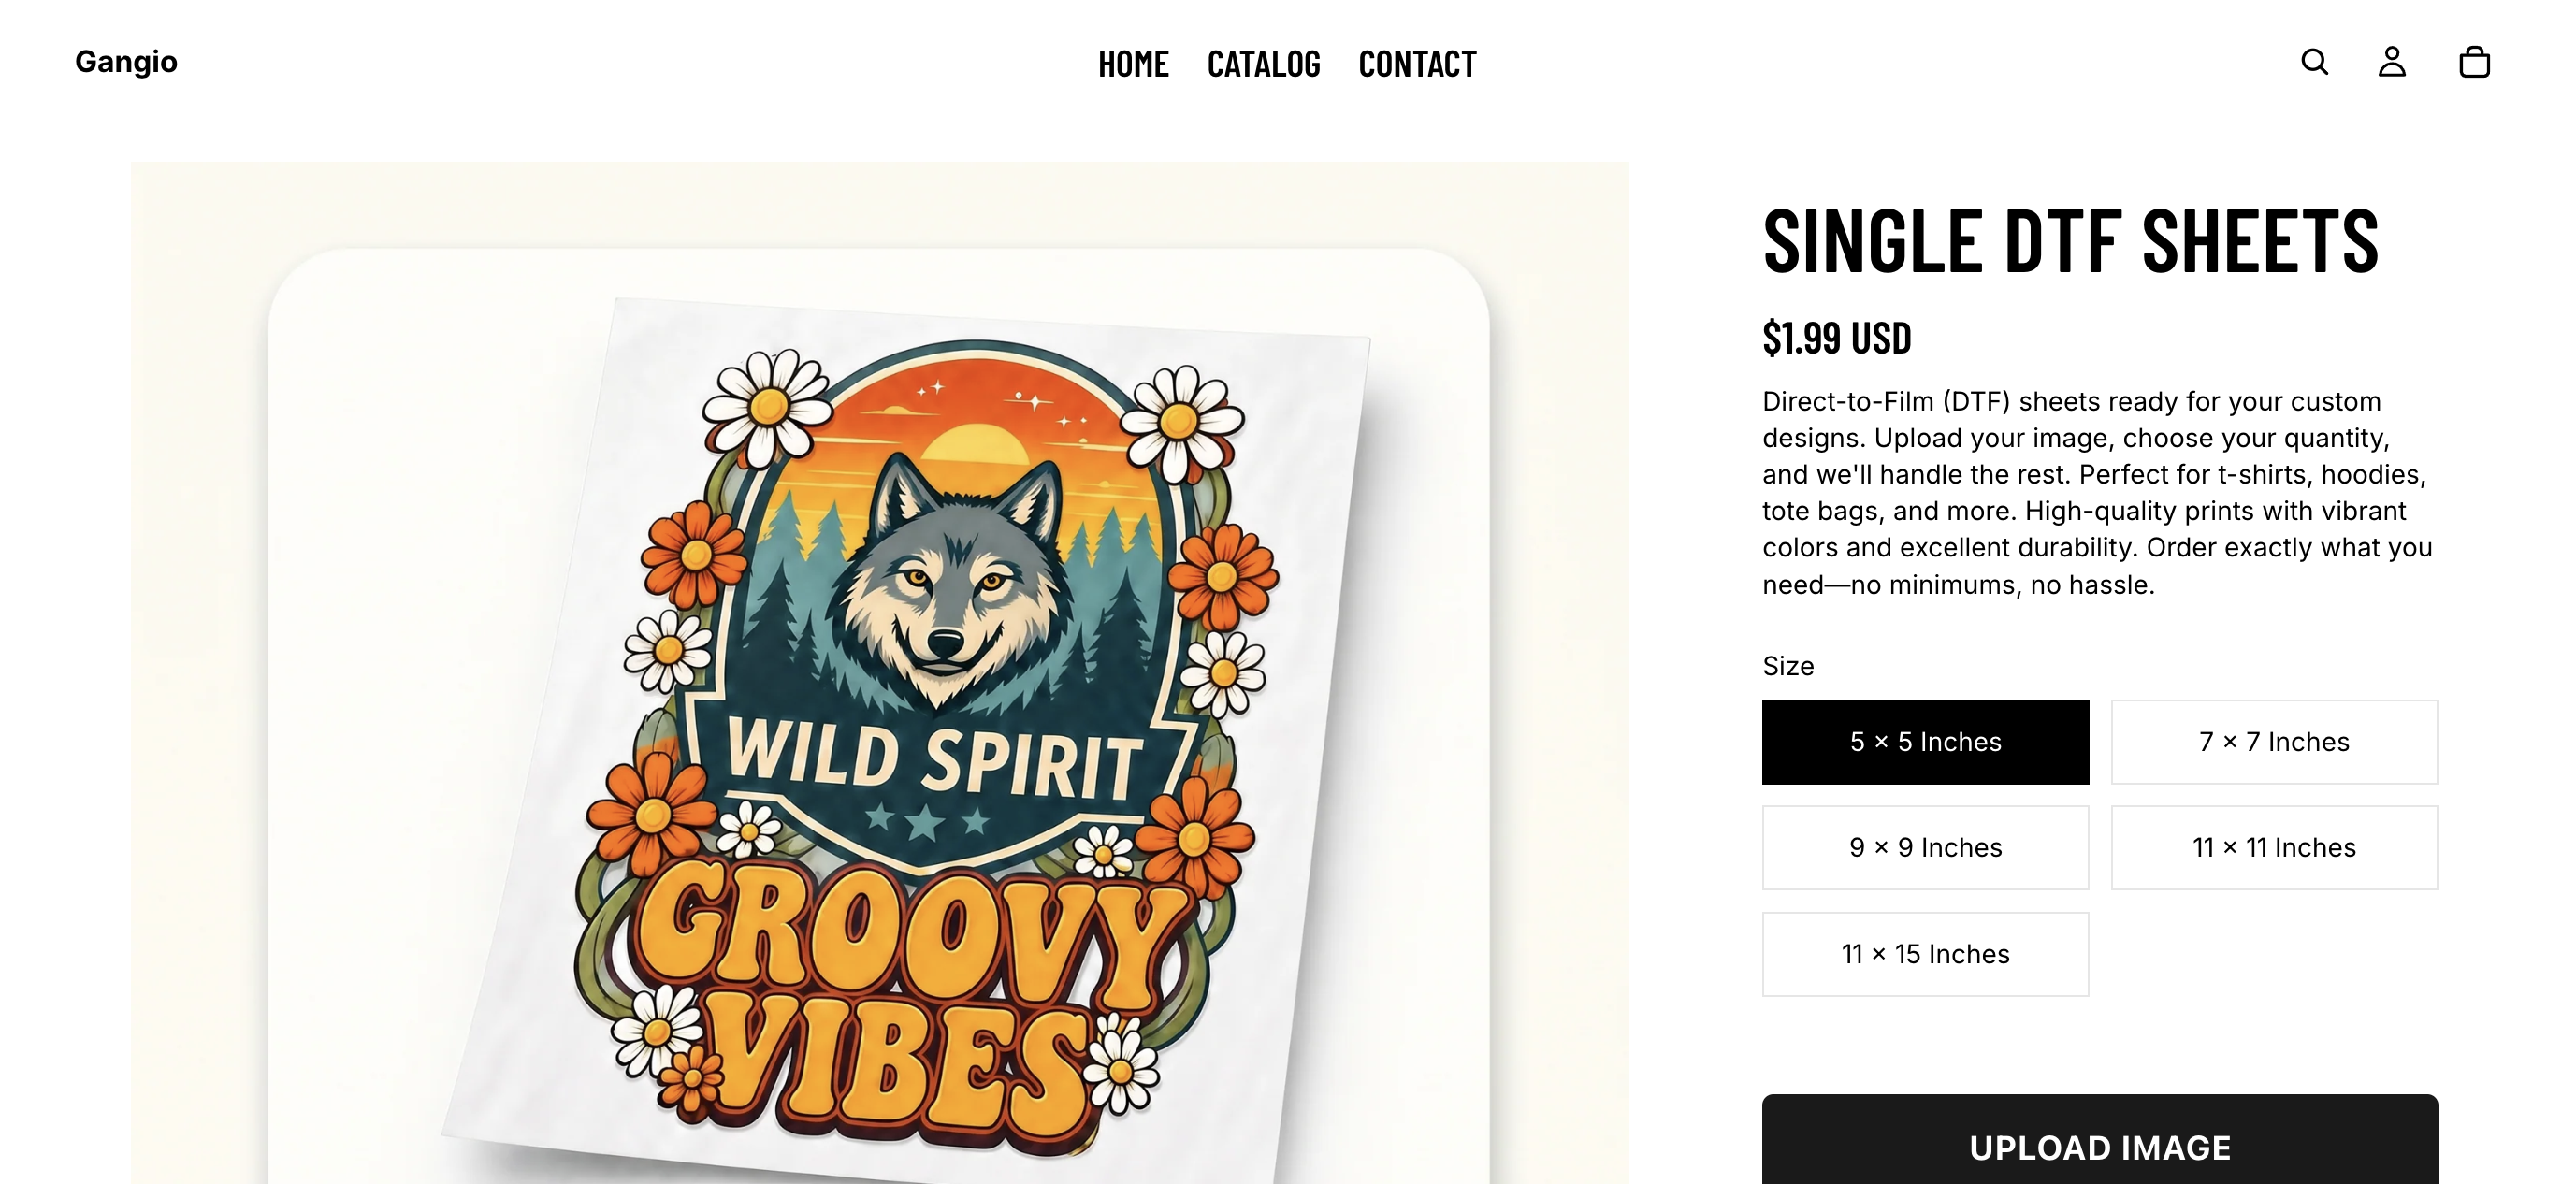
- Upload one image.
- Pick a sheet size.
- Resize, rotate, and position it on the canvas. Fit, center, and auto-crop tools help you get a clean placement.
- Optionally change the preview background (transparent, white, black, and more). This is for preview only and does not change your print file.
- Set how many copies you want, then add to cart.
EZ Auto-Build (Add Images)
With Add Images, you stay on the product page. No full canvas editor.
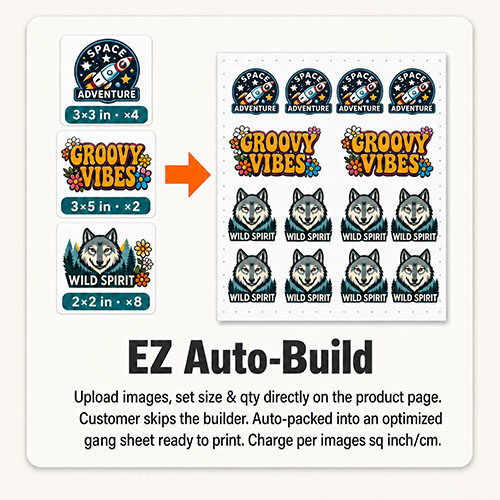
- Upload one or more designs in the modal.
- For each image, set width, height, and quantity. Turn on Auto-crop to trim empty transparent edges so size and price are based on the artwork itself.
- Check the live billable area and price as you adjust sizes.
- Use Check Quality if you want to confirm print resolution before ordering.
- Add to cart. Each image becomes its own cart line. The store packs everything into print-ready gang sheets when your order is placed.
Upload a ready-made gang sheet
If you already designed a full gang sheet in another program, choose Upload Gang Sheet on the product page.
- Upload your file.
- The app reads the dimensions (assuming 300 DPI) and matches the nearest sheet size offered by the store.
- Add an optional note if the store asks for one.
- Add to cart and check out.
Builder tools worth knowing
These tools appear in the full builder (Build It and rolling sheets). Stores can turn individual features on or off.
Arrangement methods
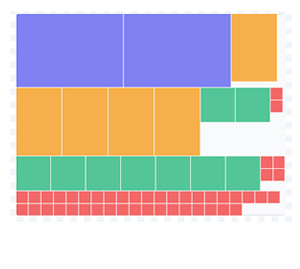
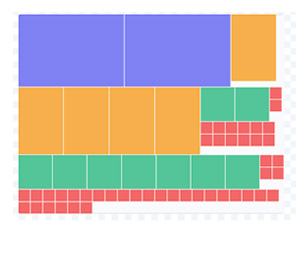
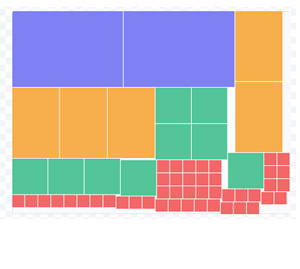
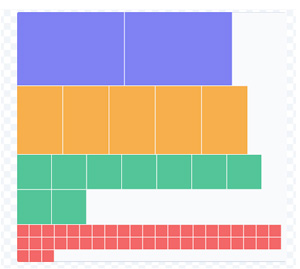
When using Auto Build or Auto Arrange, you can pick how designs are packed onto the sheet:
Save, edit & checkout
Save your work
Use Save / My Gang Sheets to keep a layout and come back later. If you're logged into the store as a customer, saved designs can follow you across devices. As a guest, they stay tied to your browser session.
Resume a session
The builder autosaves as you work. If you leave and return, you may be offered a chance to restore your previous session.
Edit from the cart
For Build It and single-image sheets, cart lines often include Edit Design and Preview Design. Edit opens the builder again so you can change the layout and update the cart item. Preview shows a larger look at your sheet.
Checkout
Checkout is the store's normal Shopify checkout. After you place the order, the merchant receives your print-ready gang sheet file.
Tips for best results
- Prefer transparent PNGs (or PDFs / .ai files) when you want clean edges without a white box around the design.
- Aim for artwork that stays near 300 DPI at the print size you choose. Upscaling a tiny file to a large print can look soft.
- Leave a little gap between designs so they're easier to cut apart after printing.
- Use Auto-crop on EZ Auto-Build items so you aren't charged for empty transparent margins.
- Log into your store account before building if you want saved designs and images available on another device.
Frequently asked questions
Store owners
Looking for merchant setup help (products, theme buttons, billing, or downloads? Read the merchant help guide, open Help inside the Shopify admin app, or get started on the Shopify App Store.