Getting started
Install Gangio from the Shopify App Store, then open it from Apps → Gangio in your Shopify admin. The app lives entirely inside Shopify. No separate login required.
Your main navigation inside Gangio:
- Dashboard: setup progress, quick actions, and recent orders.
- Gang Sheet Orders: download print-ready files from customer orders.
- Products: assign Shopify products and configure sheet types and sizes.
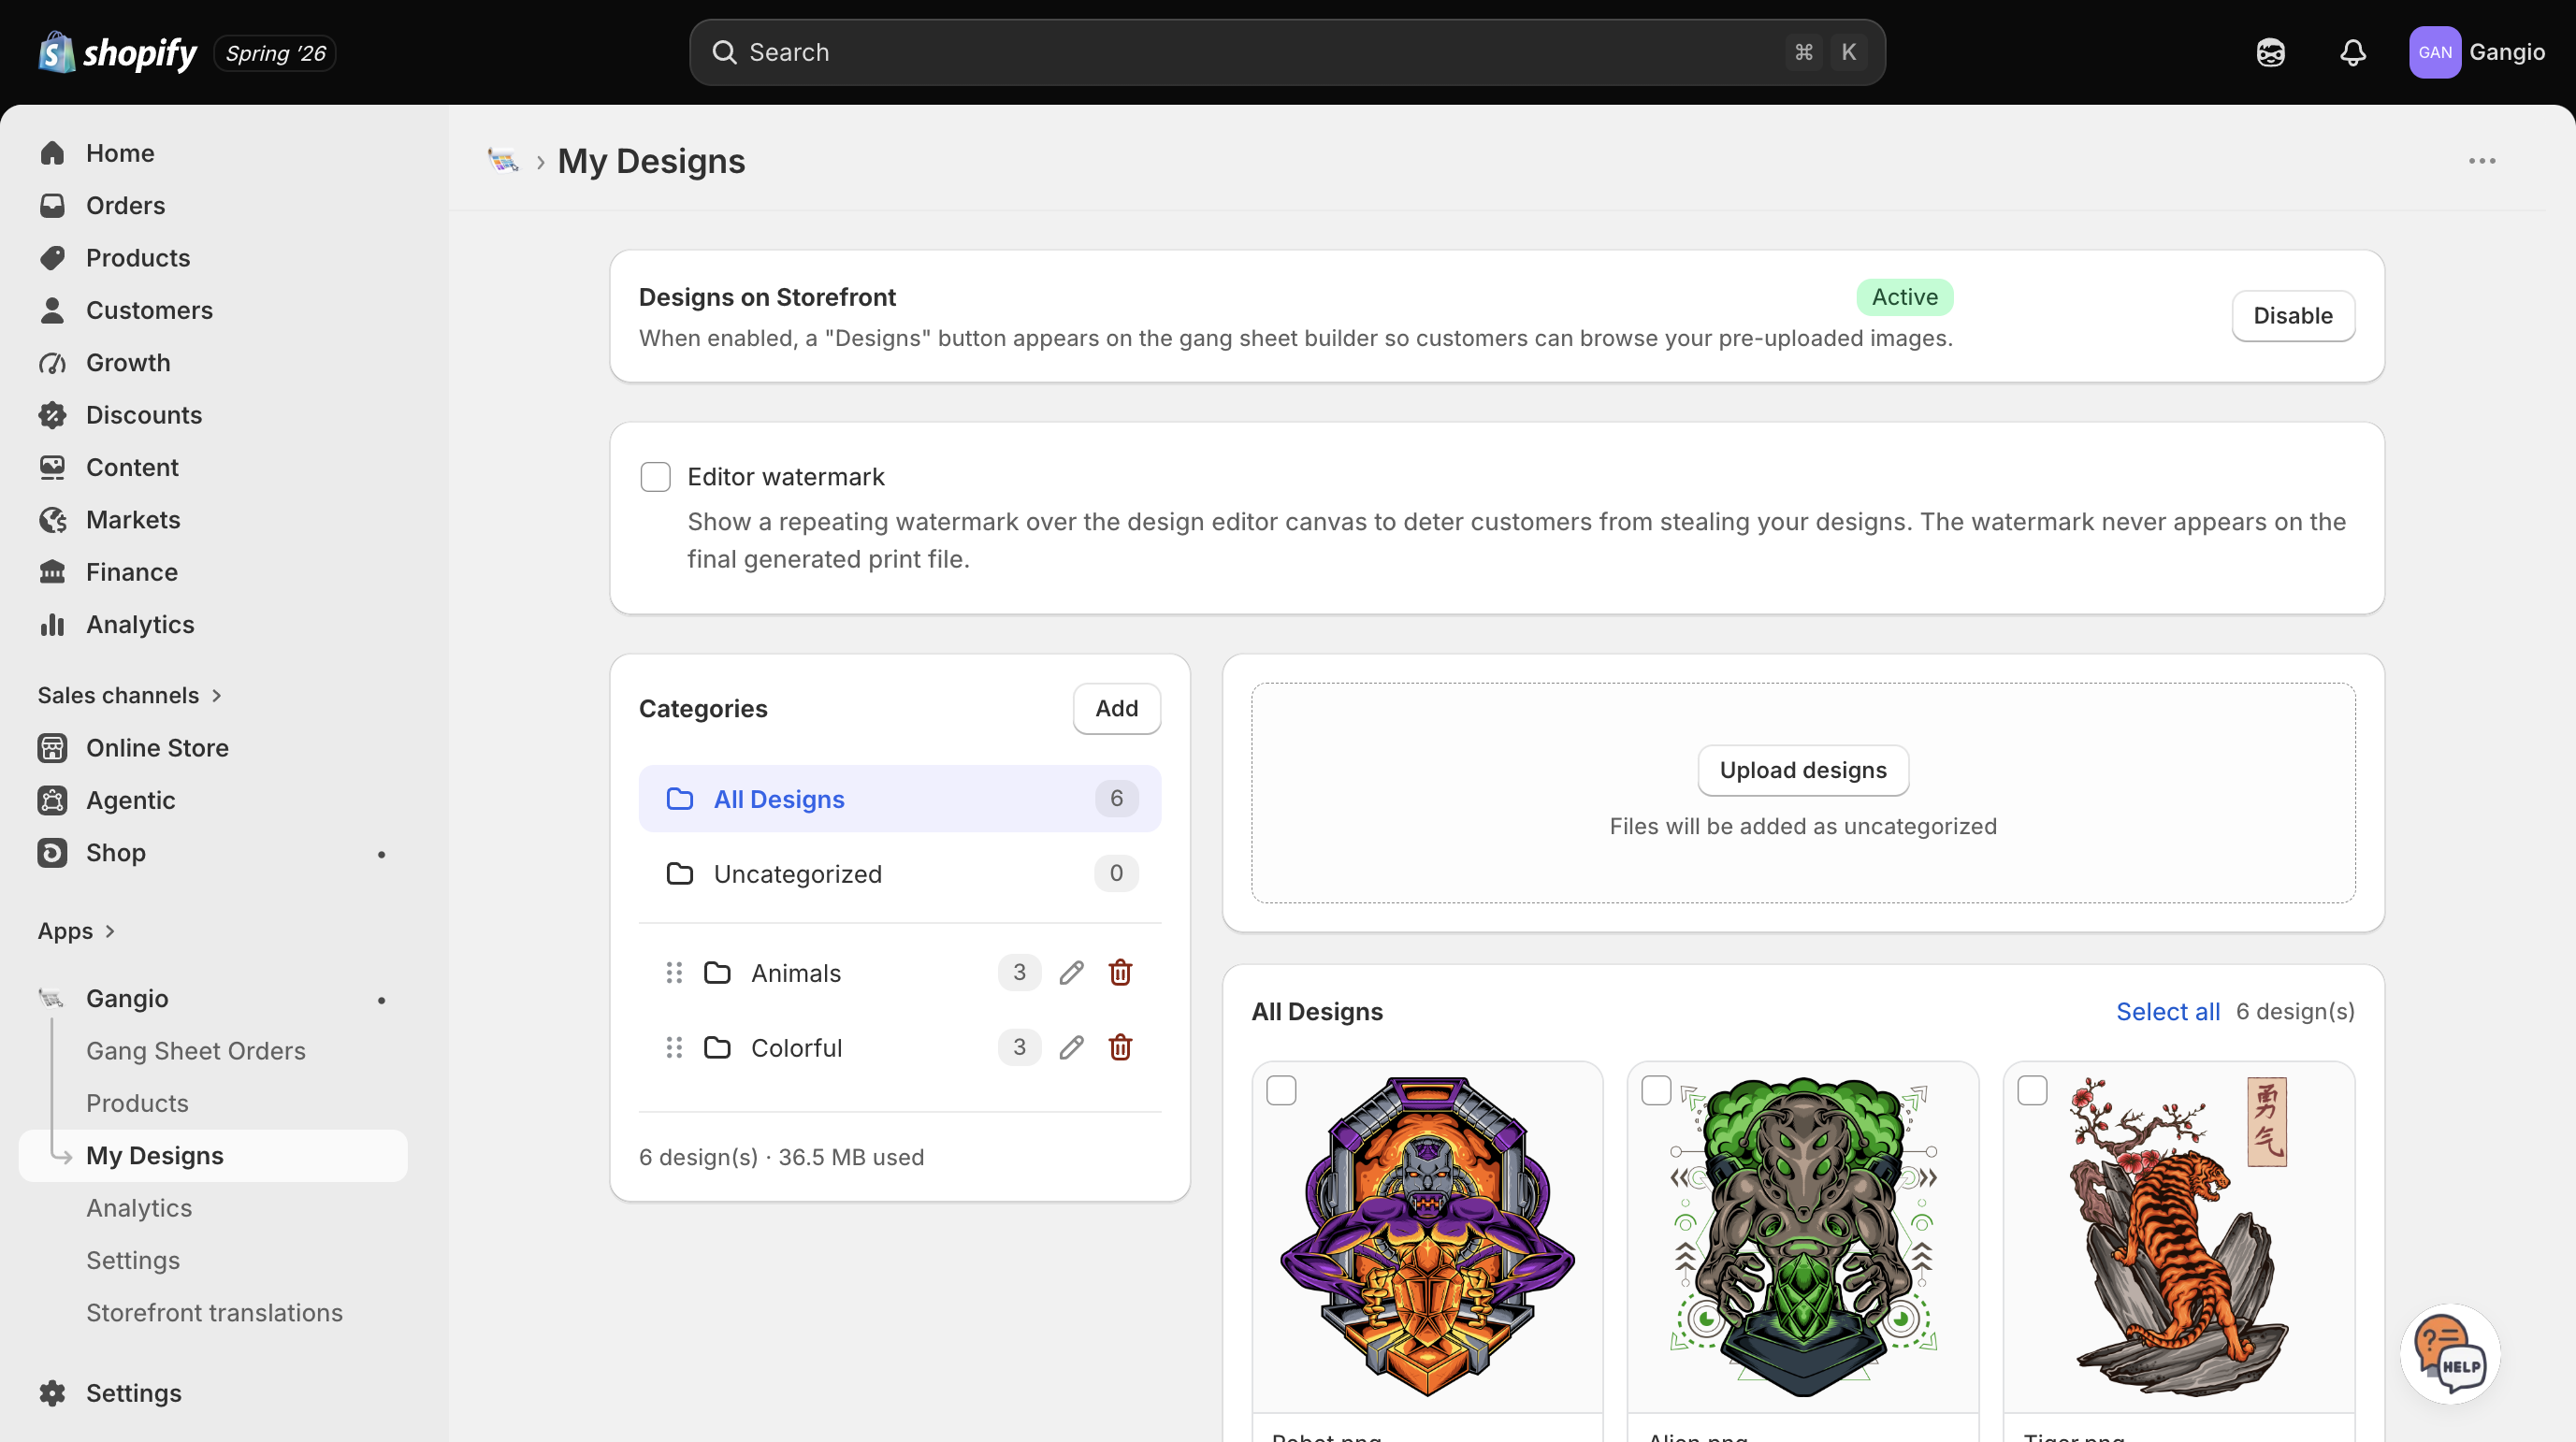
- My Designs: upload designs customers can pick from in the builder.
- Settings: branding, builder options, button styling, and theme compatibility.
- Storefront translations: customize builder text in multiple languages.
- Help: in-app contact form and FAQ (inside the embedded app).
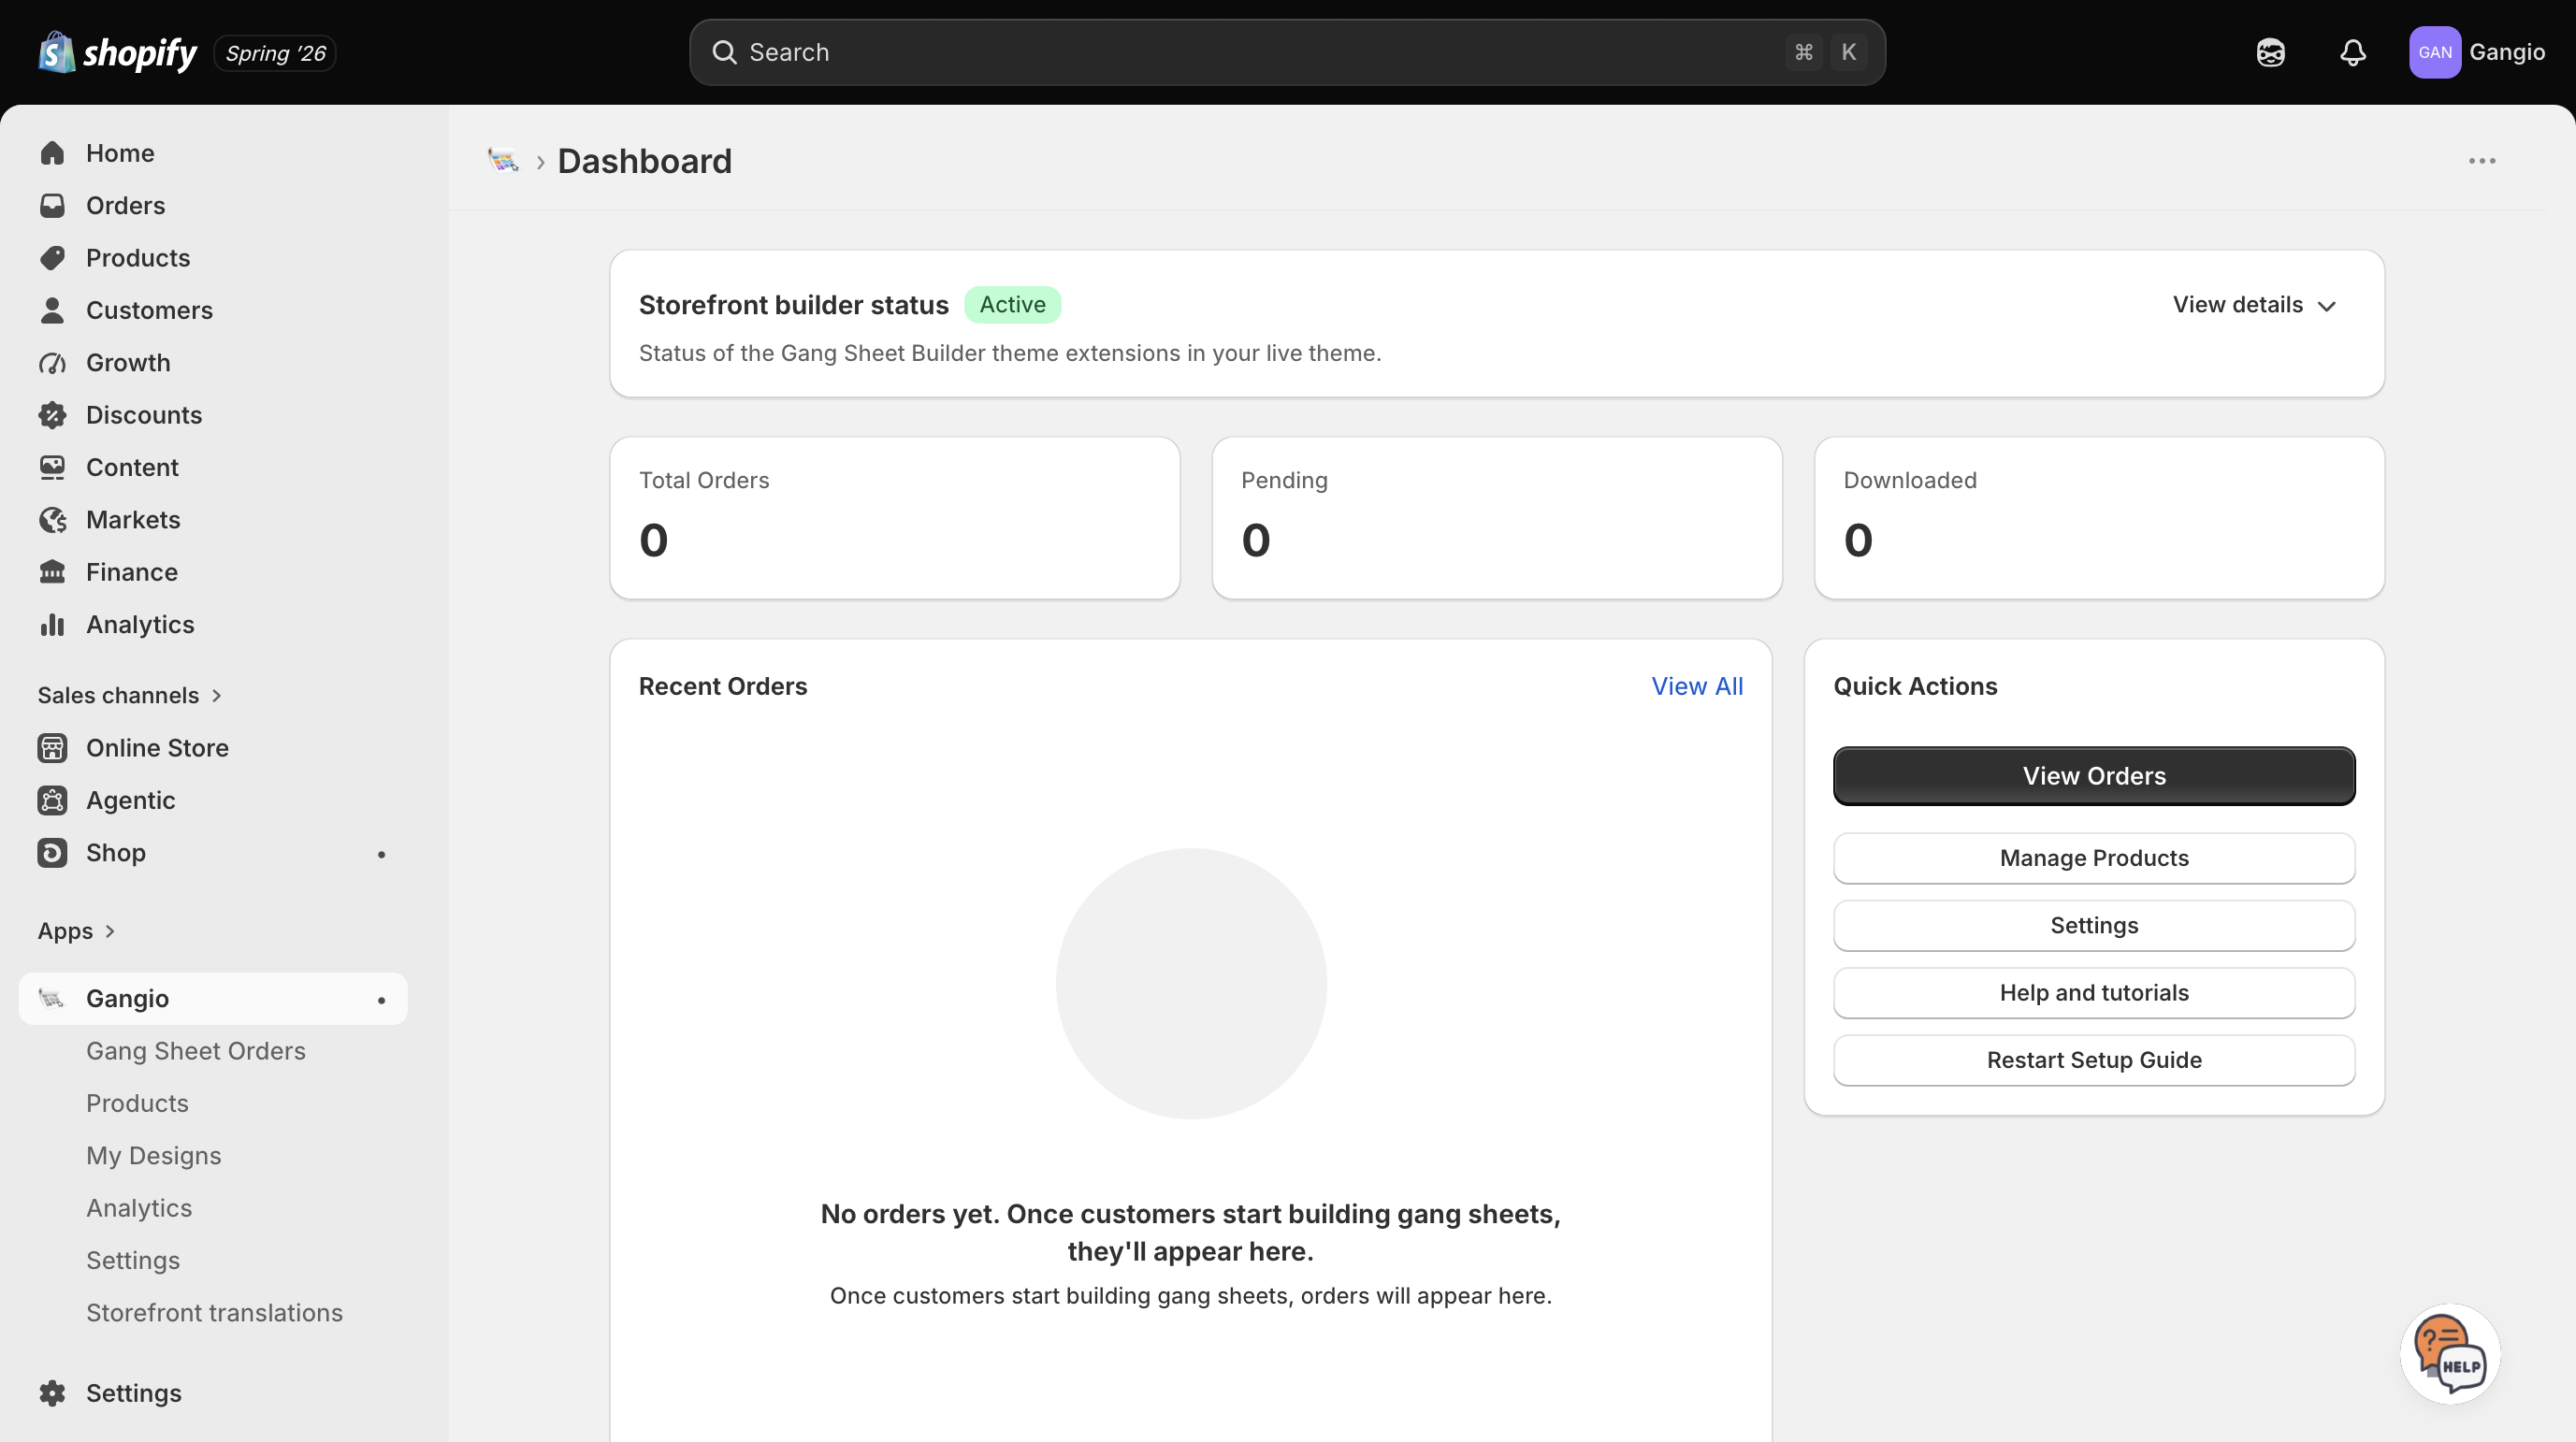
Setup checklist
Gangio includes a built-in setup guide on the Dashboard. Complete these three steps before going live:
- Configure products. On the Products page, add your Shopify products and set sheet type, sizes, and pricing for each one.
- Enable the app embed. In your theme editor, turn on the Gang Sheet Builder app embed under App embeds. This powers the builder on your storefront.
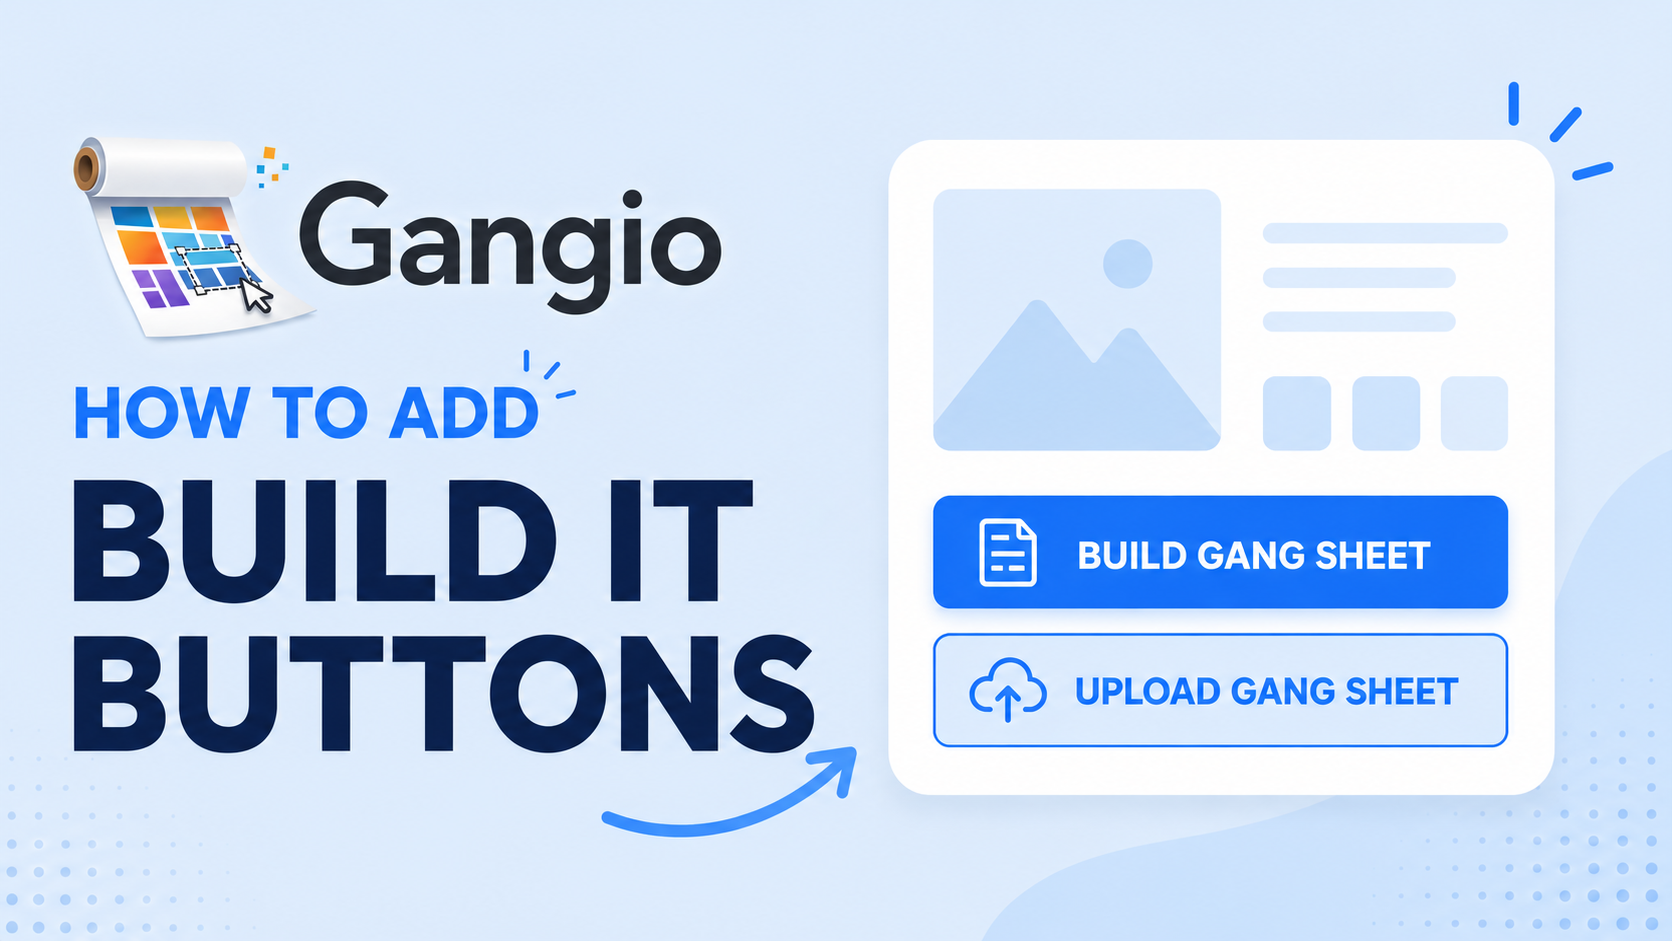
- Add buttons to your product template. In the theme editor, add the Gangio app blocks (Build It, Upload Image, Add Images, or Upload Gang Sheet) to your product page template.
Video tutorials
These short videos walk through the two most important setup tasks:
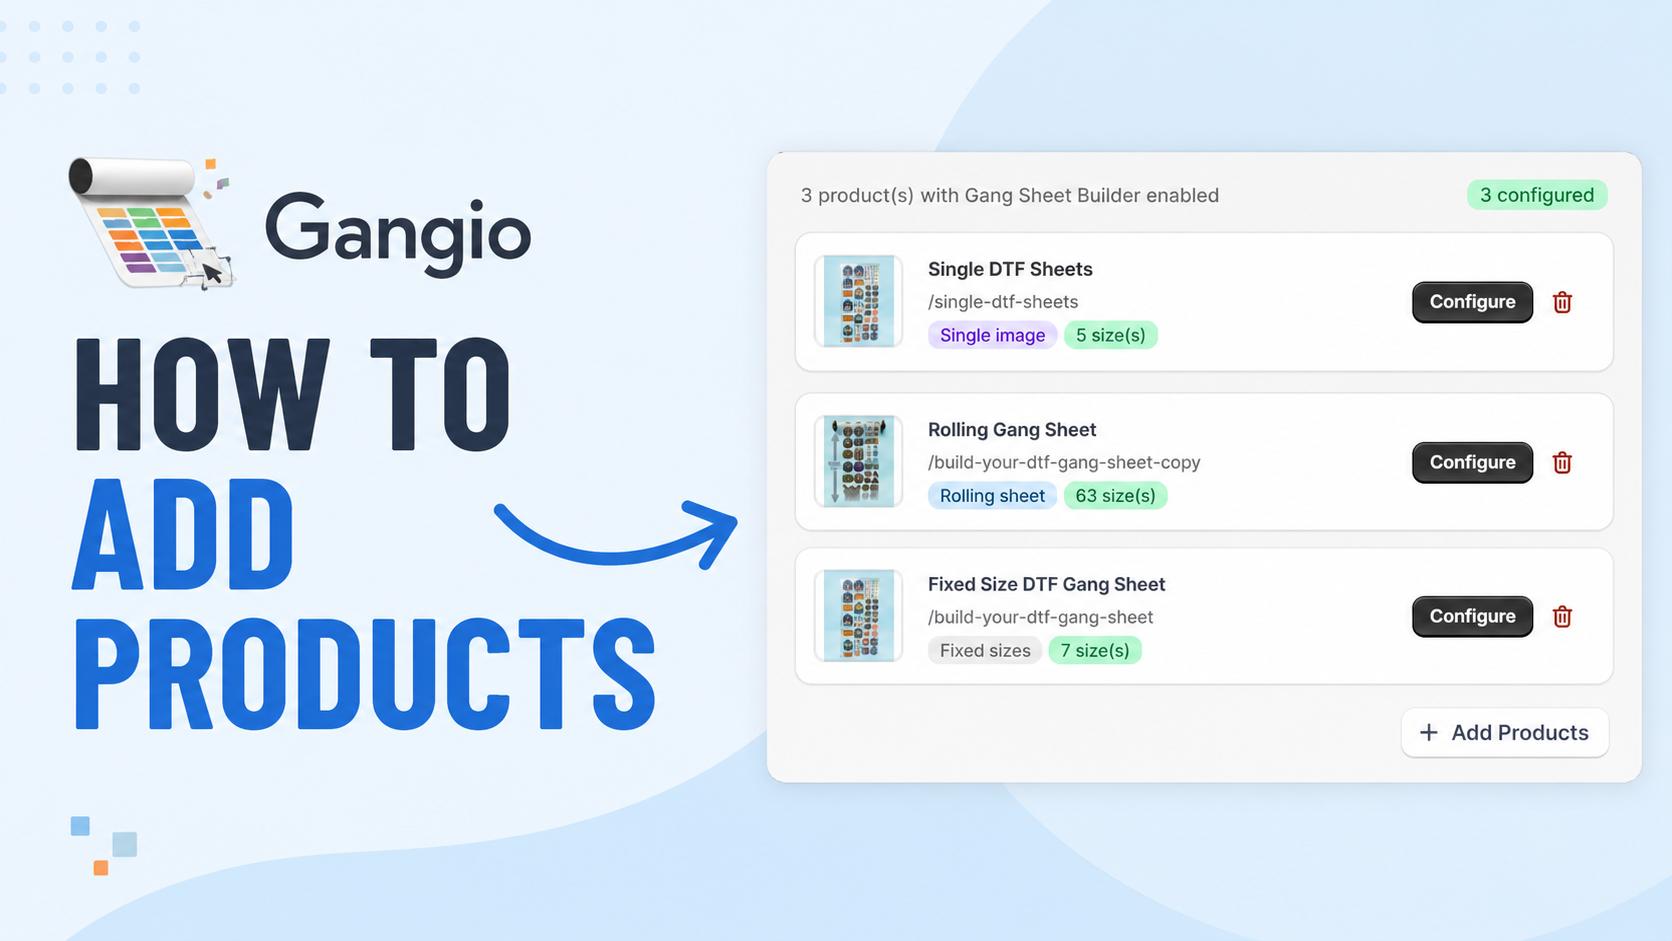
Add & configure products
Go to Products in the Gangio app and click Add Products to connect a Shopify product to the gang sheet builder. Each configured product shows its sheet type badge and how many sizes are active.
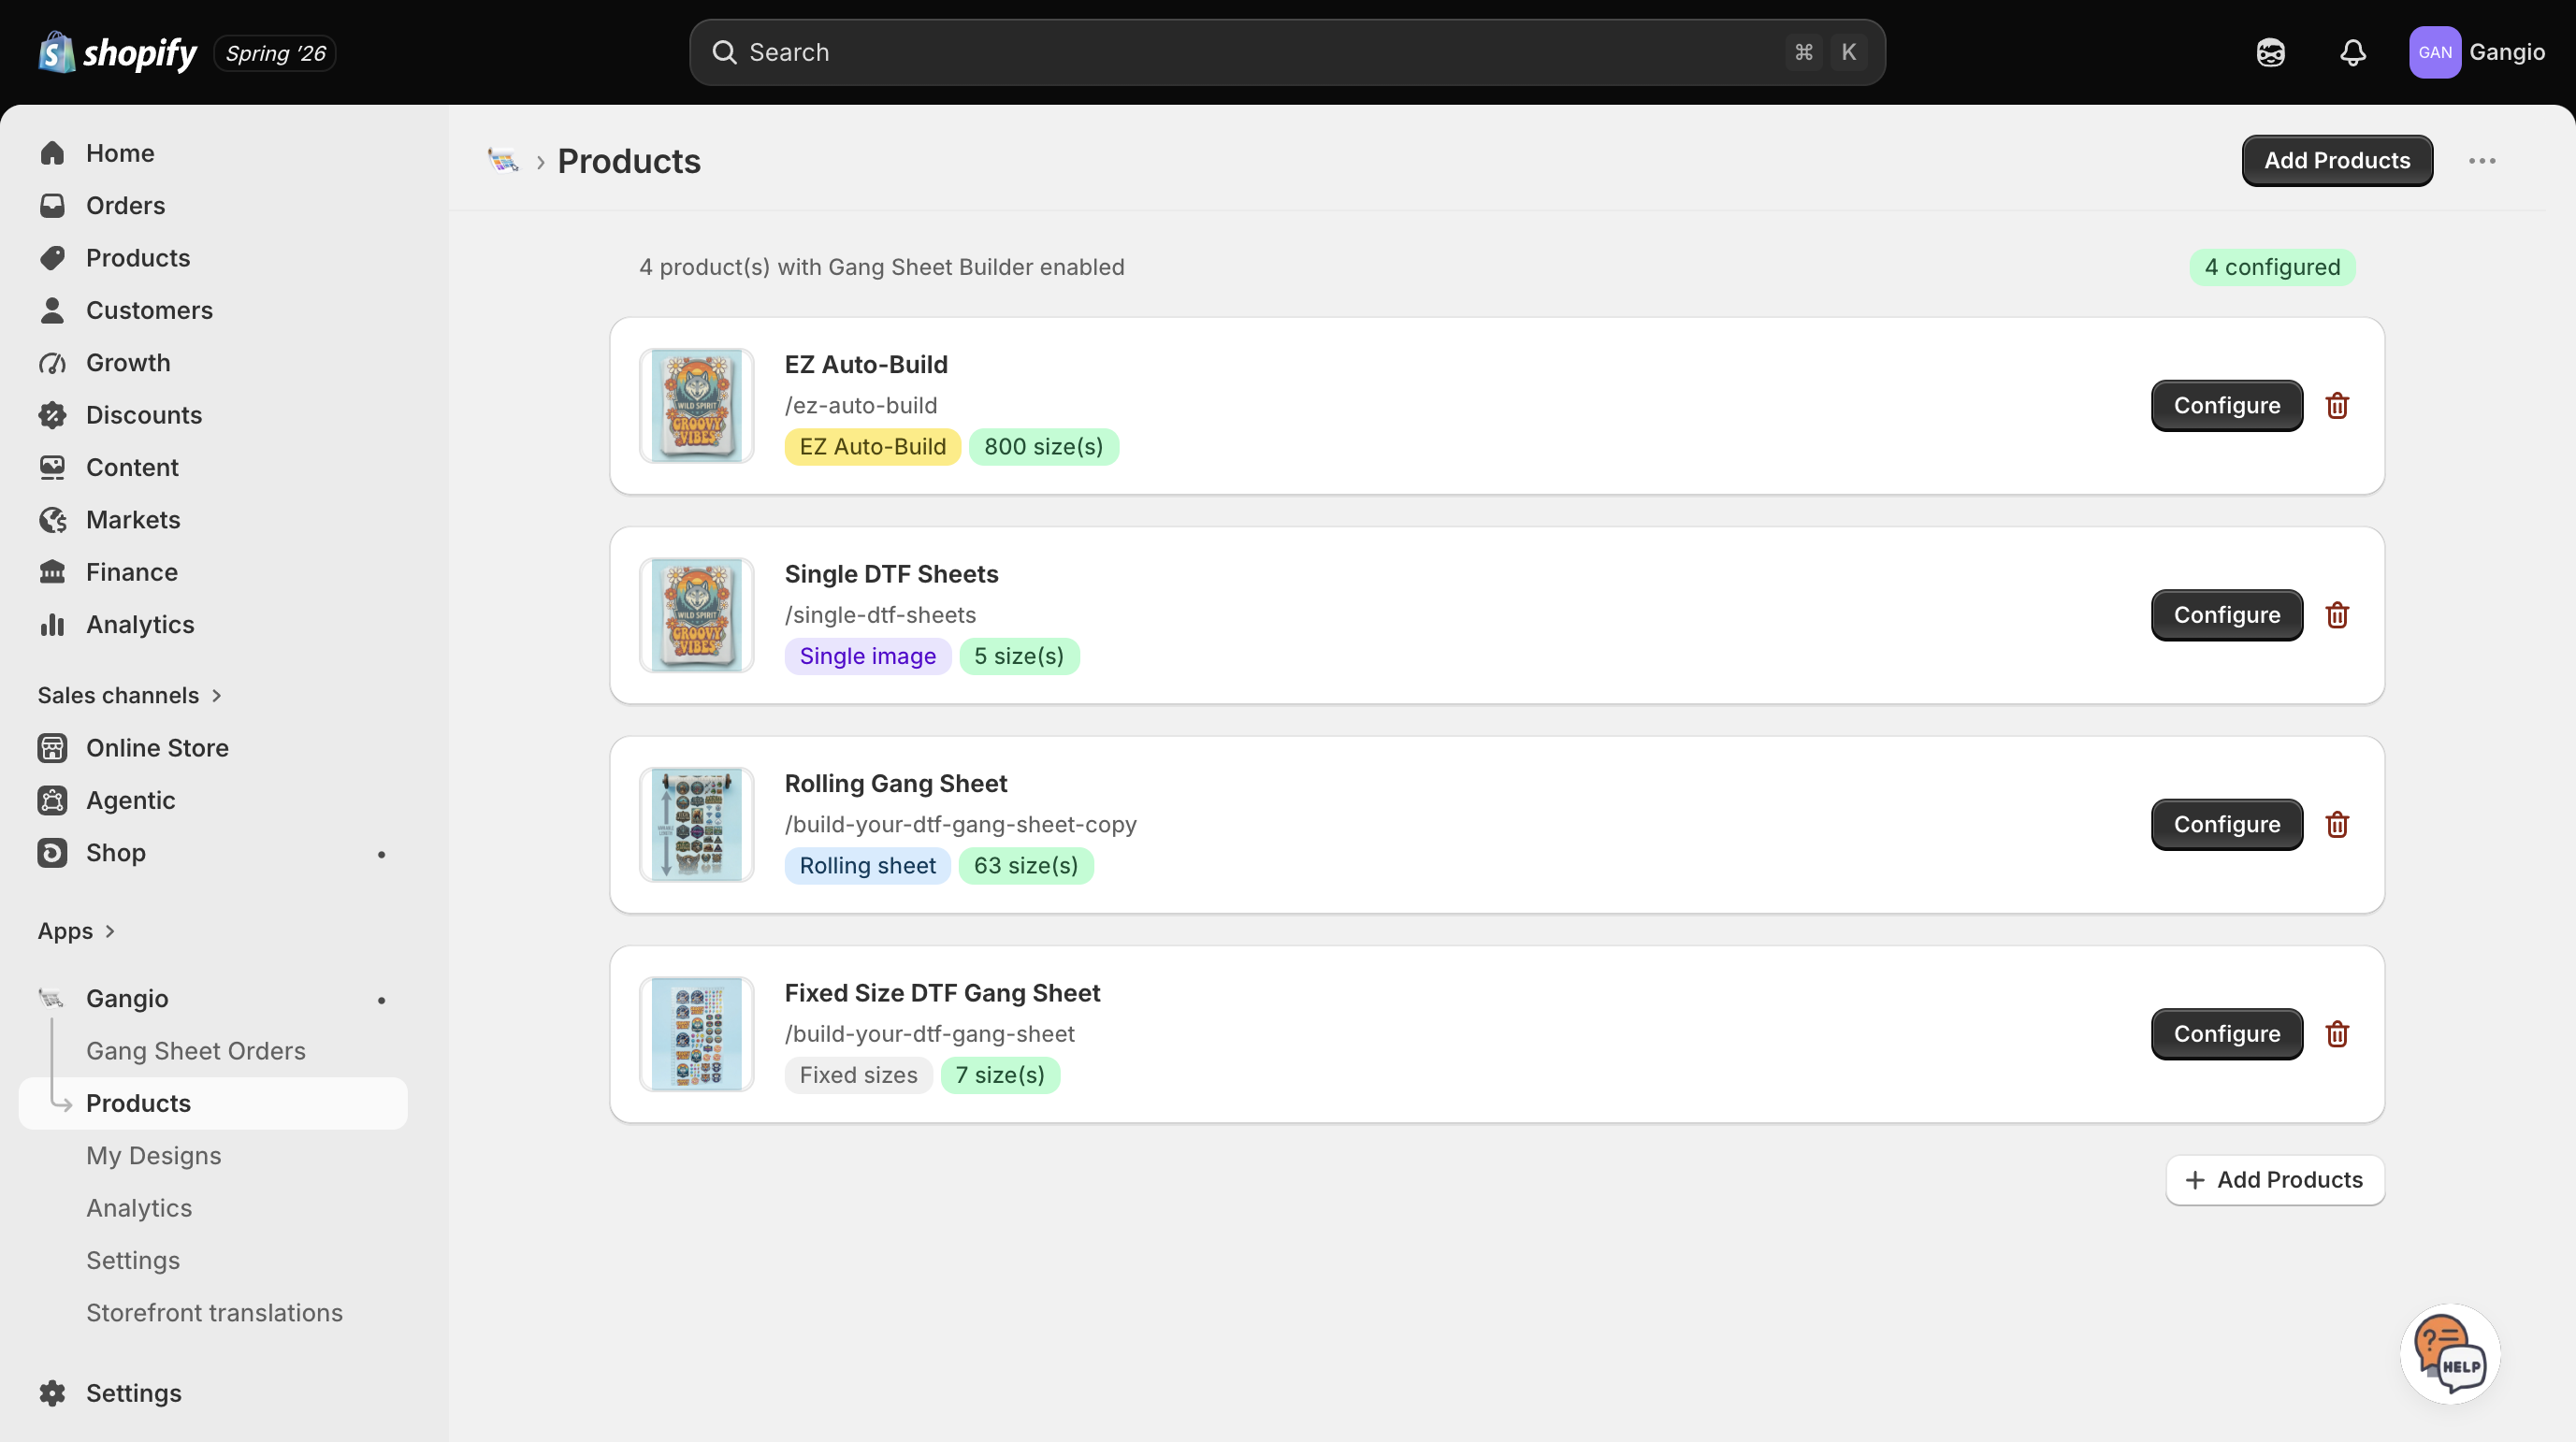
Configuring a product
- Create your product variants in Shopify first (e.g. 22 × 30, 22 × 60) with the prices you want to charge.
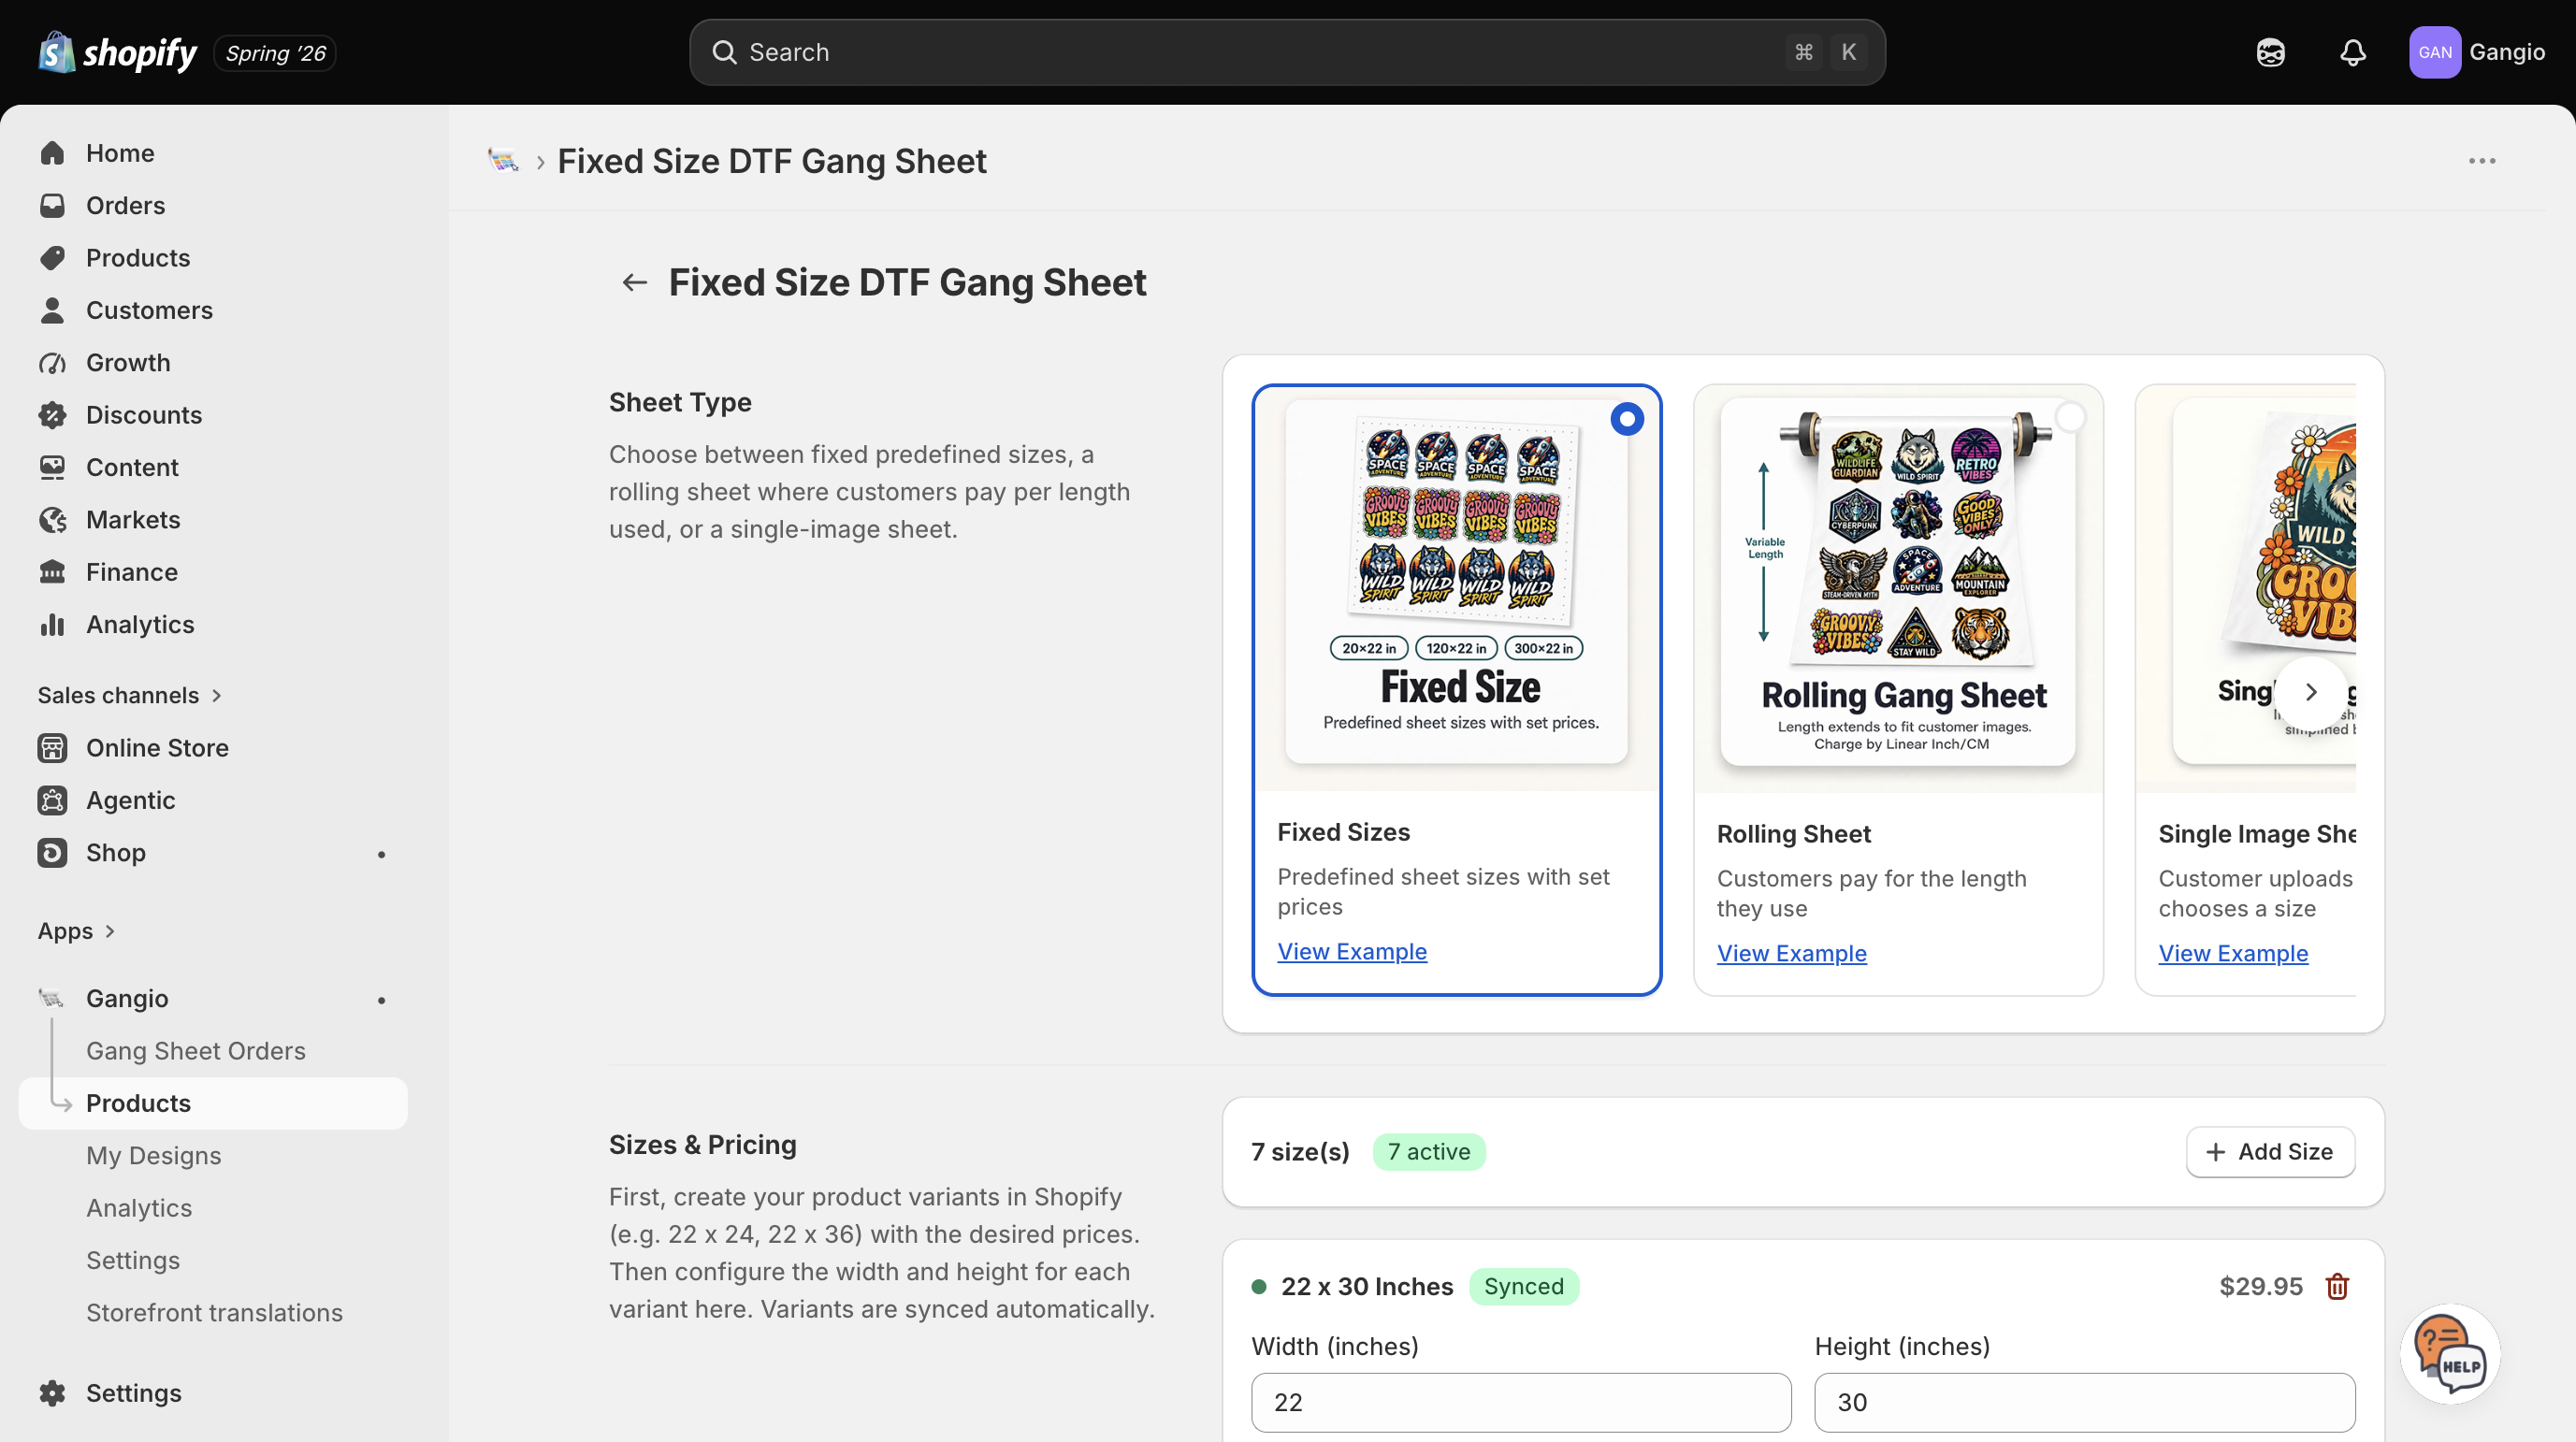
- In Gangio, click Configure on the product and choose a Sheet type.
- Map each Shopify variant to width and height (fixed/single), set rolling dimensions and pricing, or configure per-area pricing for EZ Auto-Build.
- Save your changes. Variants sync automatically when you update them in Shopify.
Sheet types explained
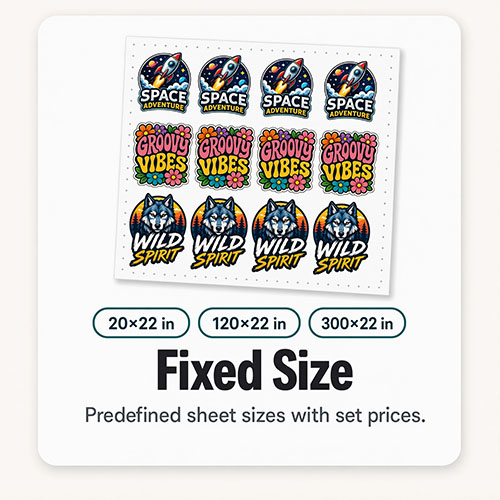
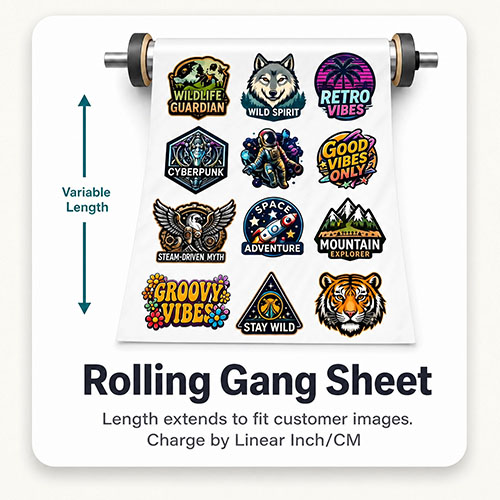
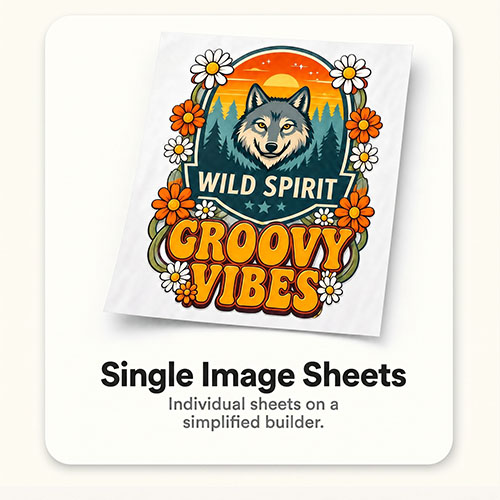
Fixed sizes
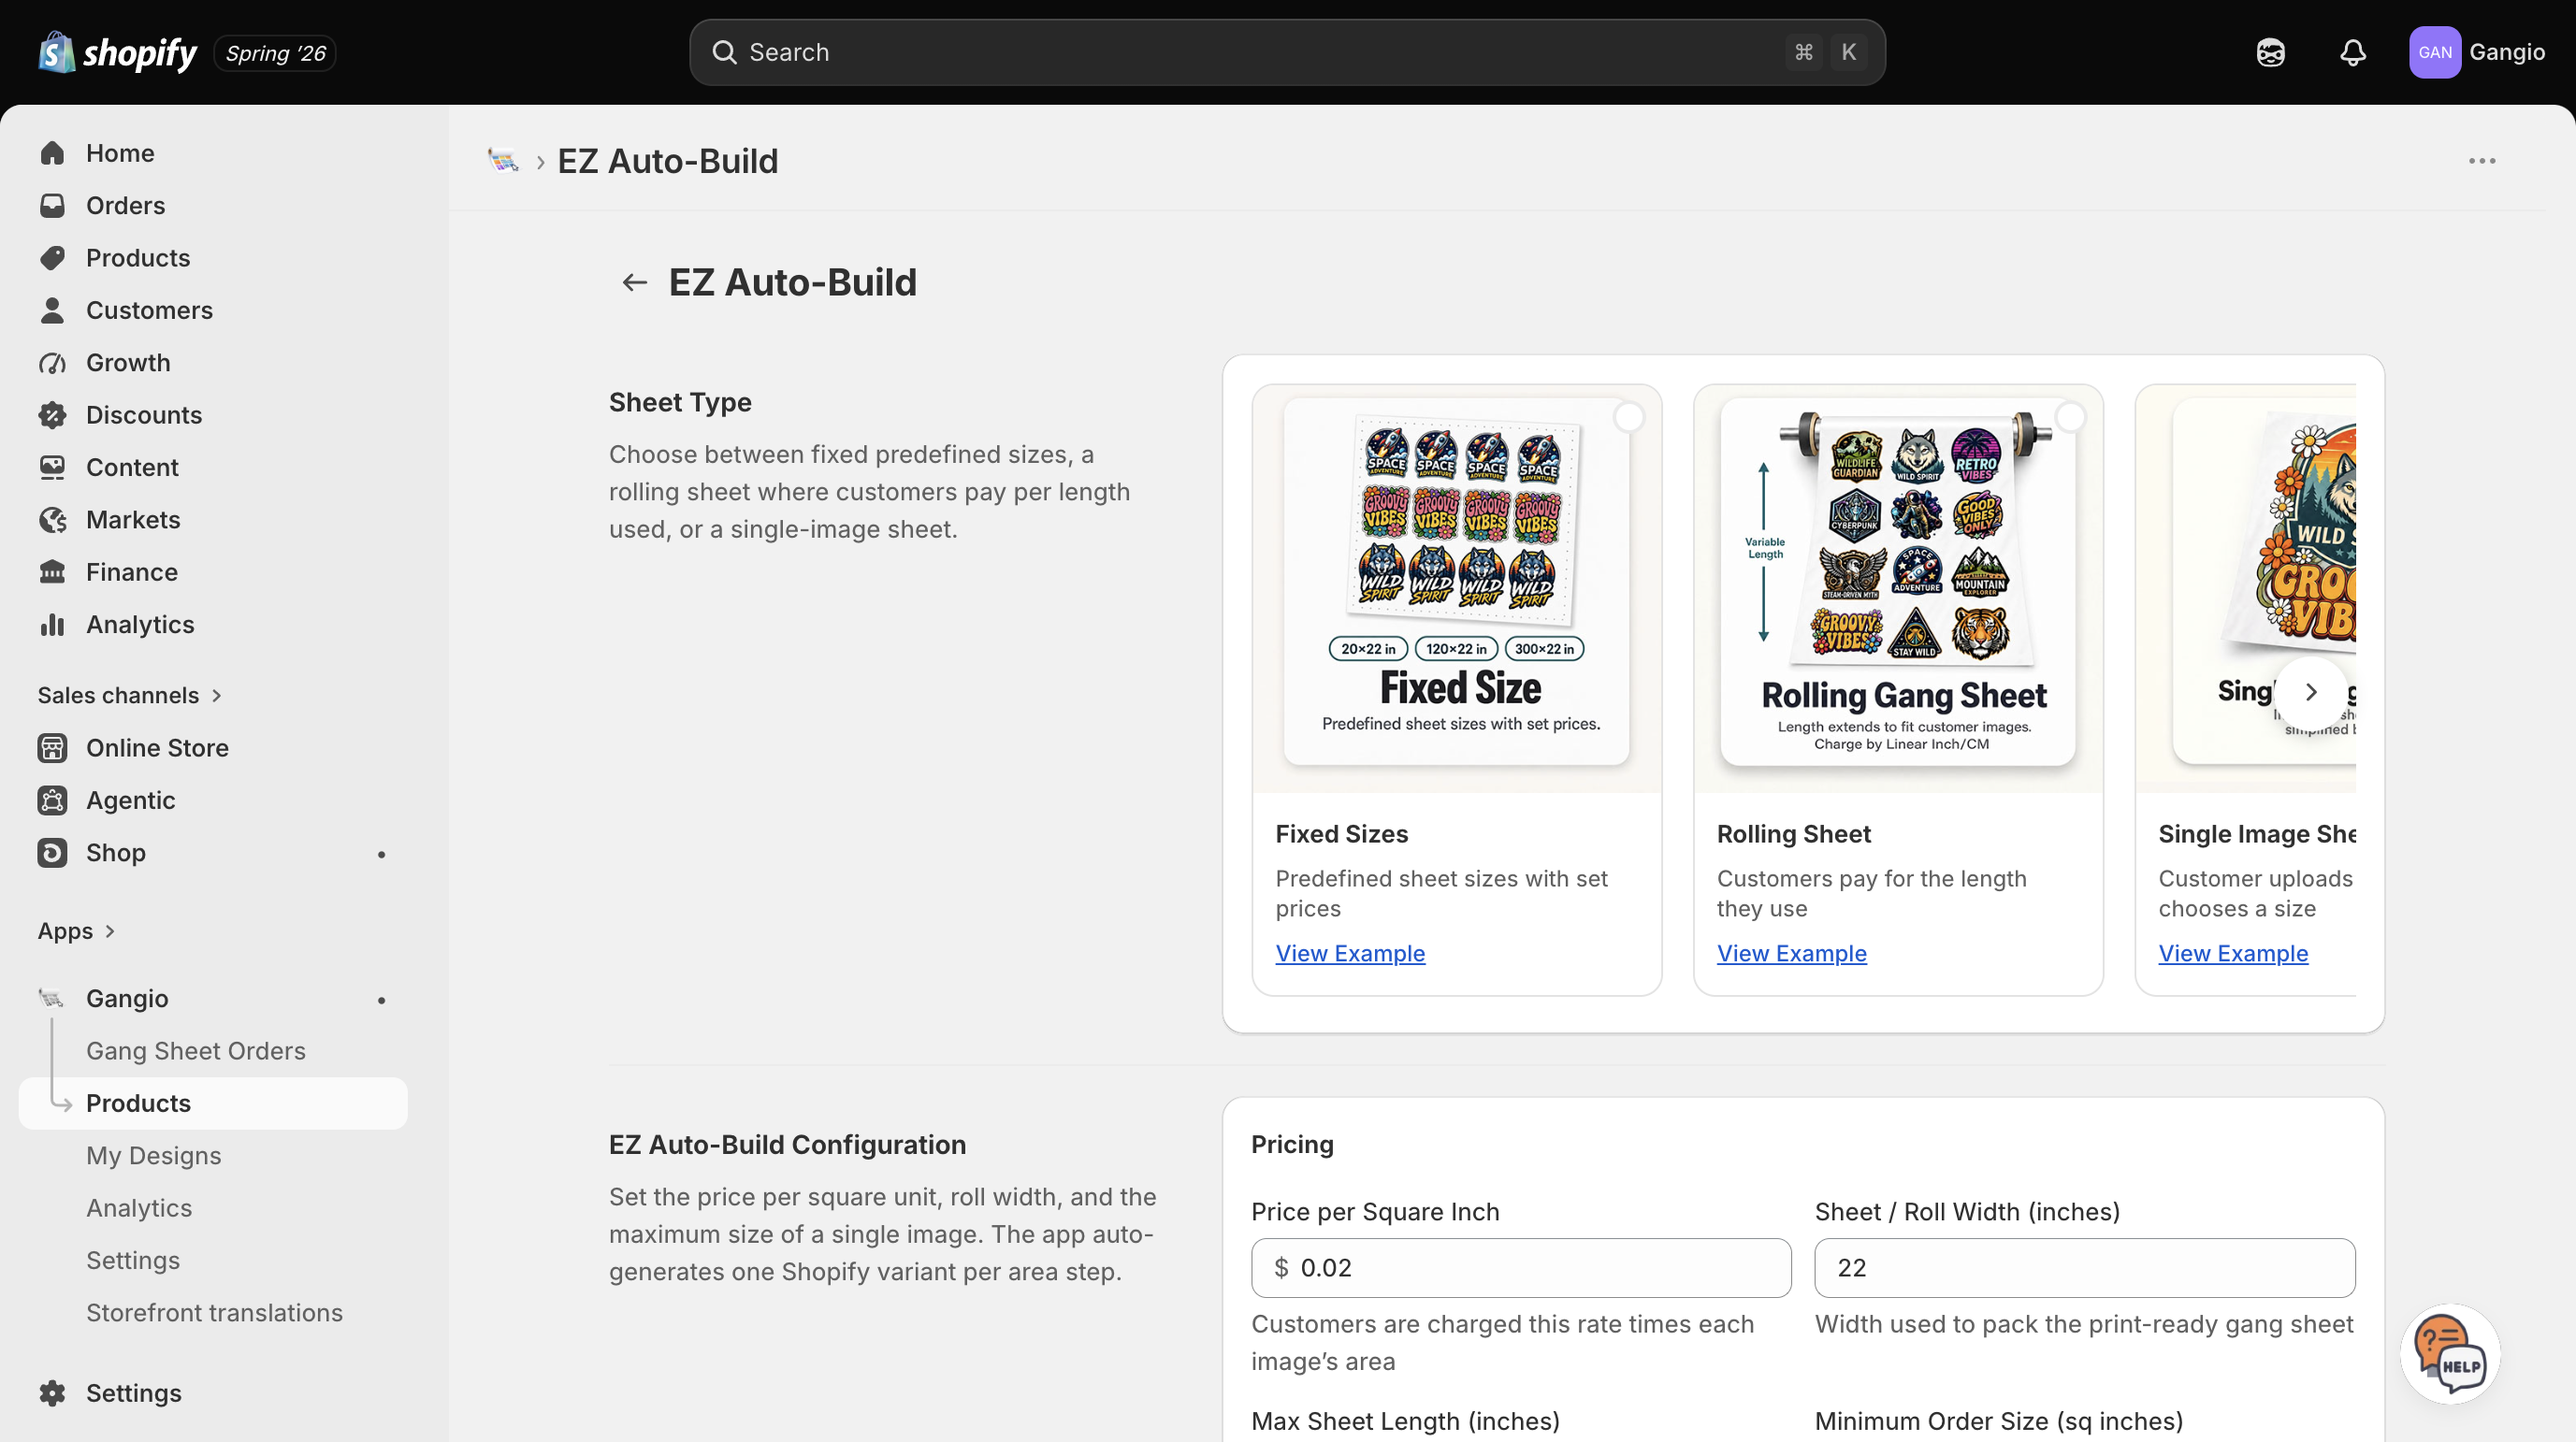
Rolling sheet
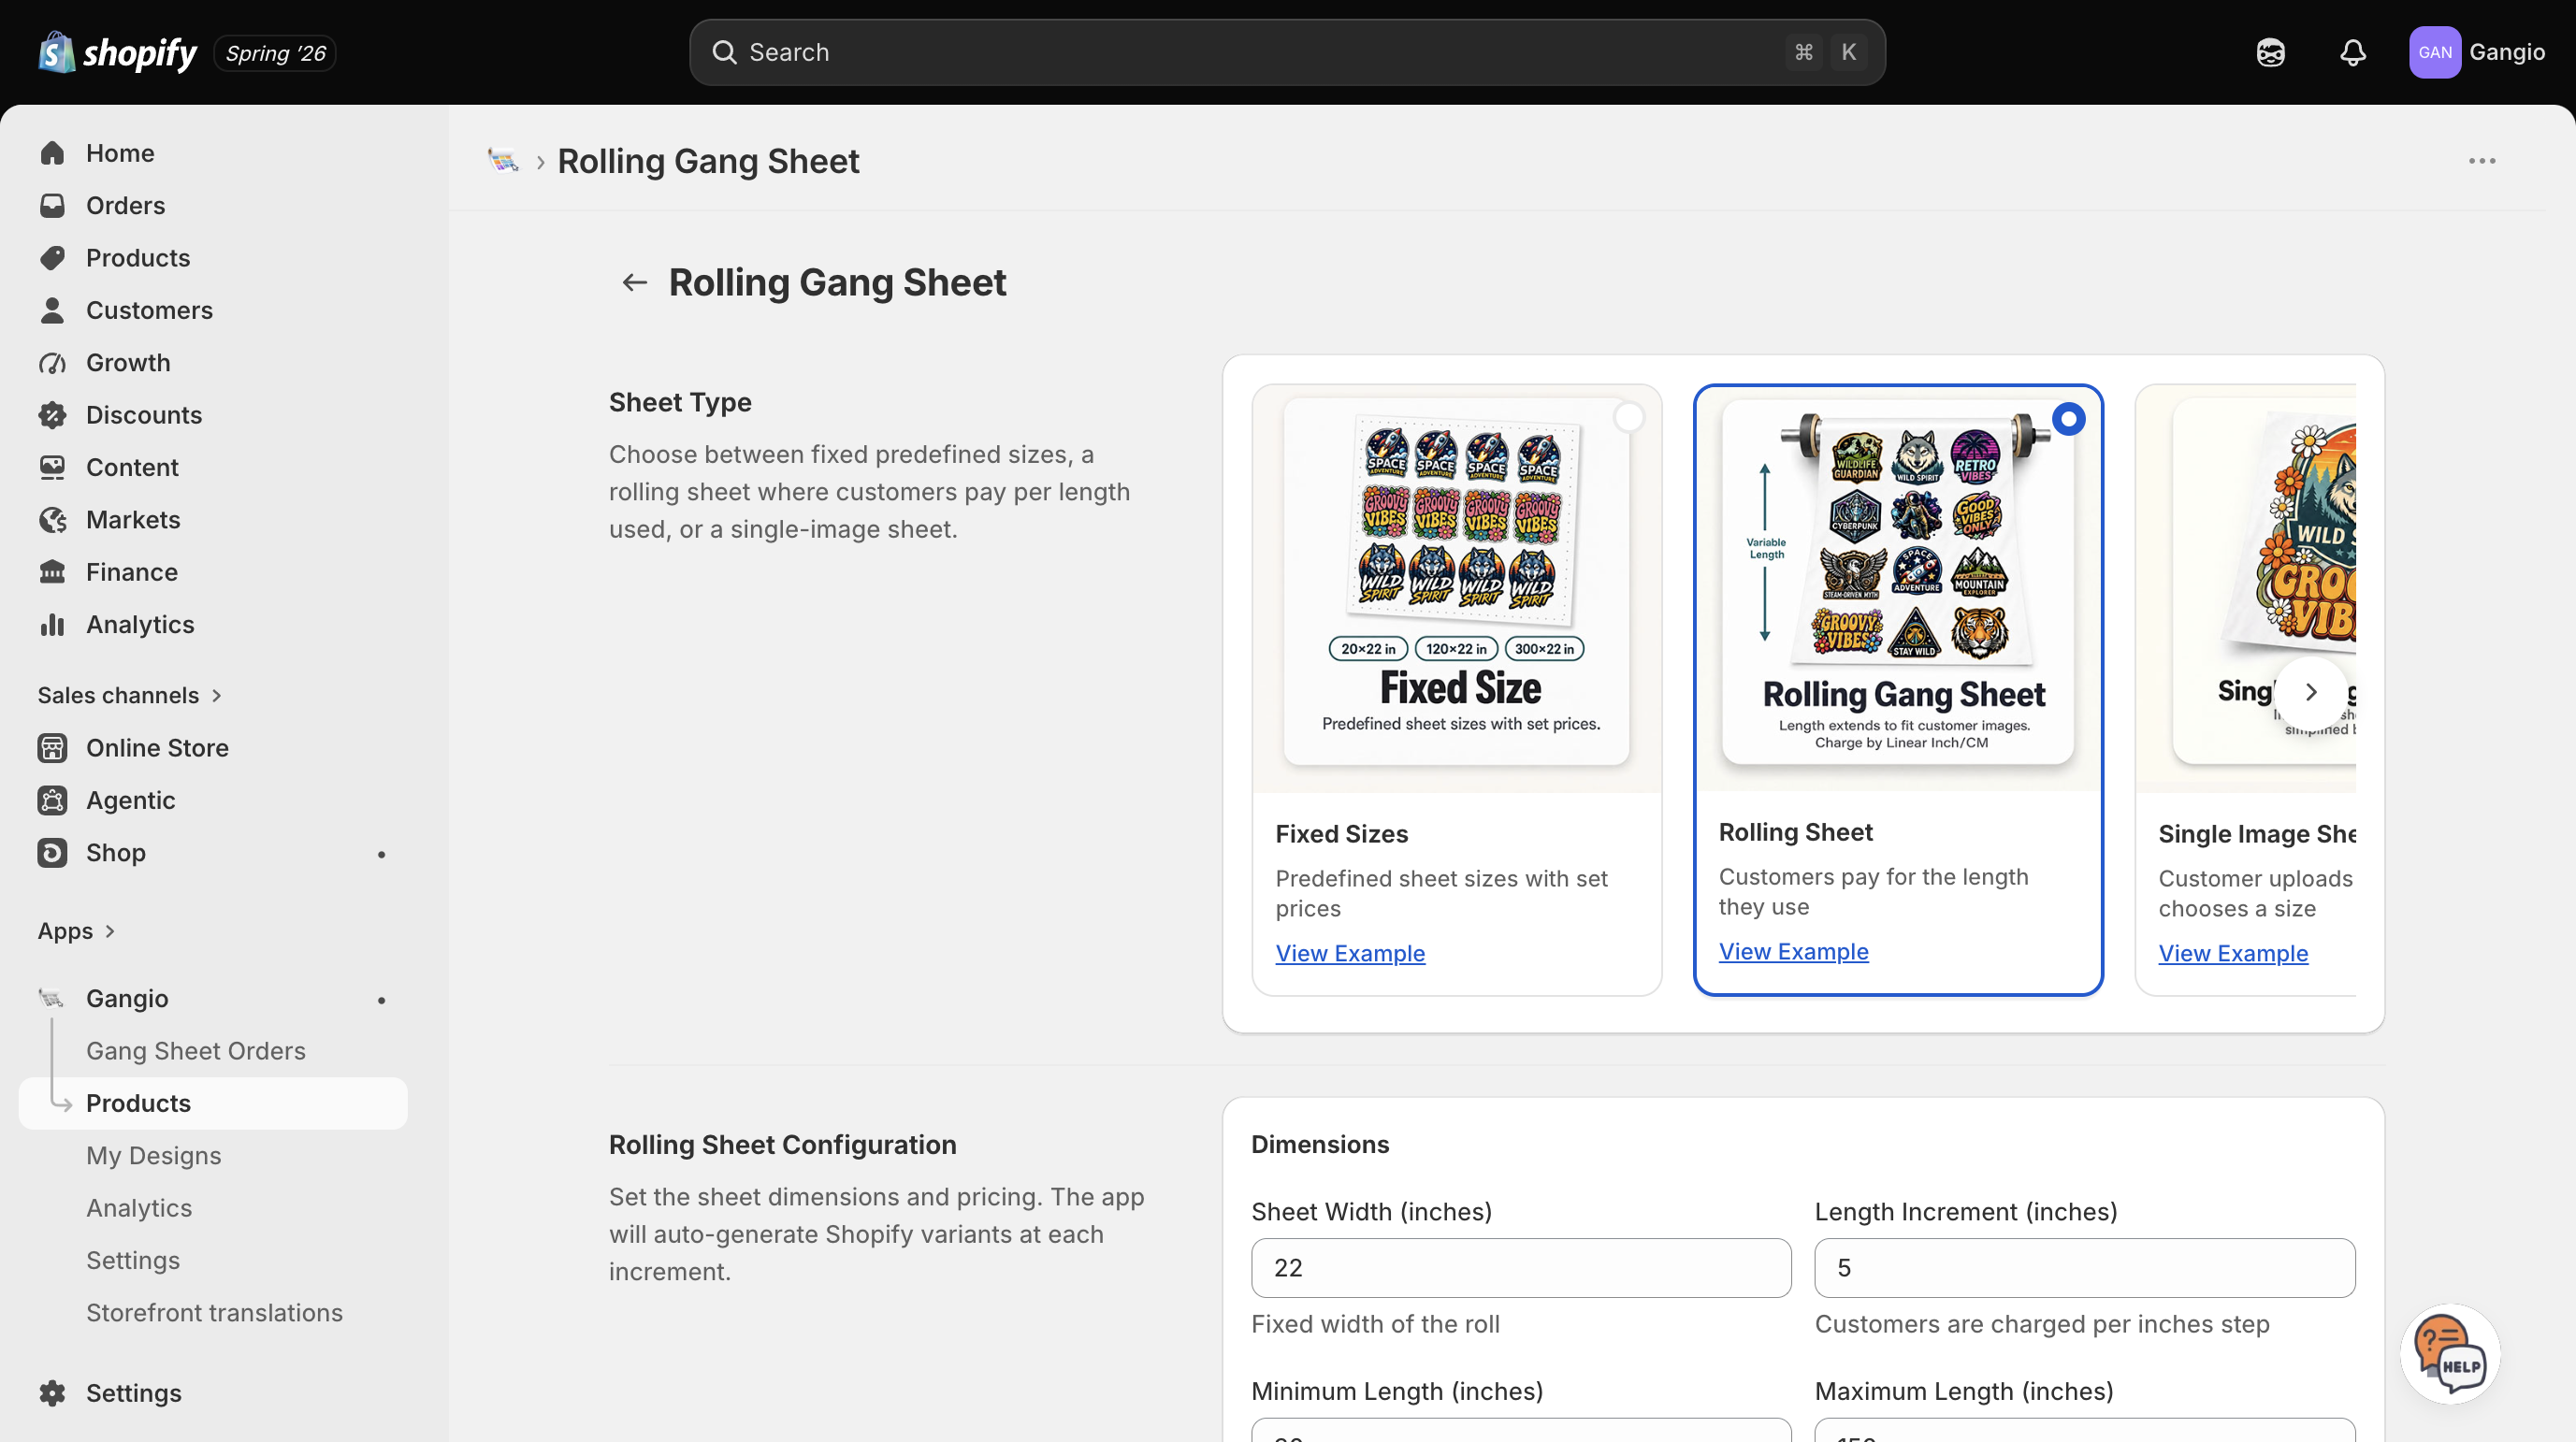
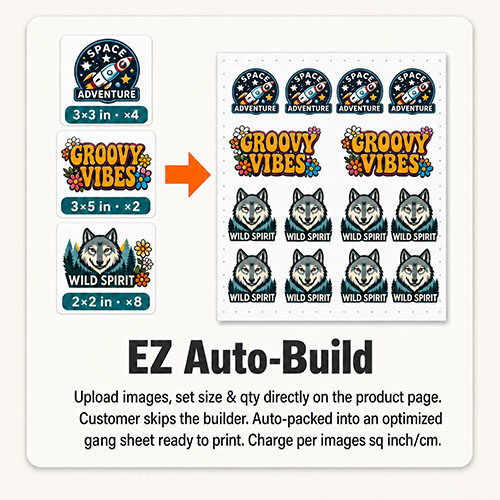
EZ Auto-Build
Cutting service fee
If you cut designs for your customers, Gangio can charge a per-cut fee on top of the sheet price. The fee is based on how many designs are on the sheet and is added to the cart as its own line item, so it shows up clearly at checkout and on the order. It's available on Fixed sizes, Rolling sheet, and EZ Auto-Build products.
Turning it on
Open the product in Gangio (Products → Configure) and scroll past the sheet configuration to Additional Options → Cutting Service.
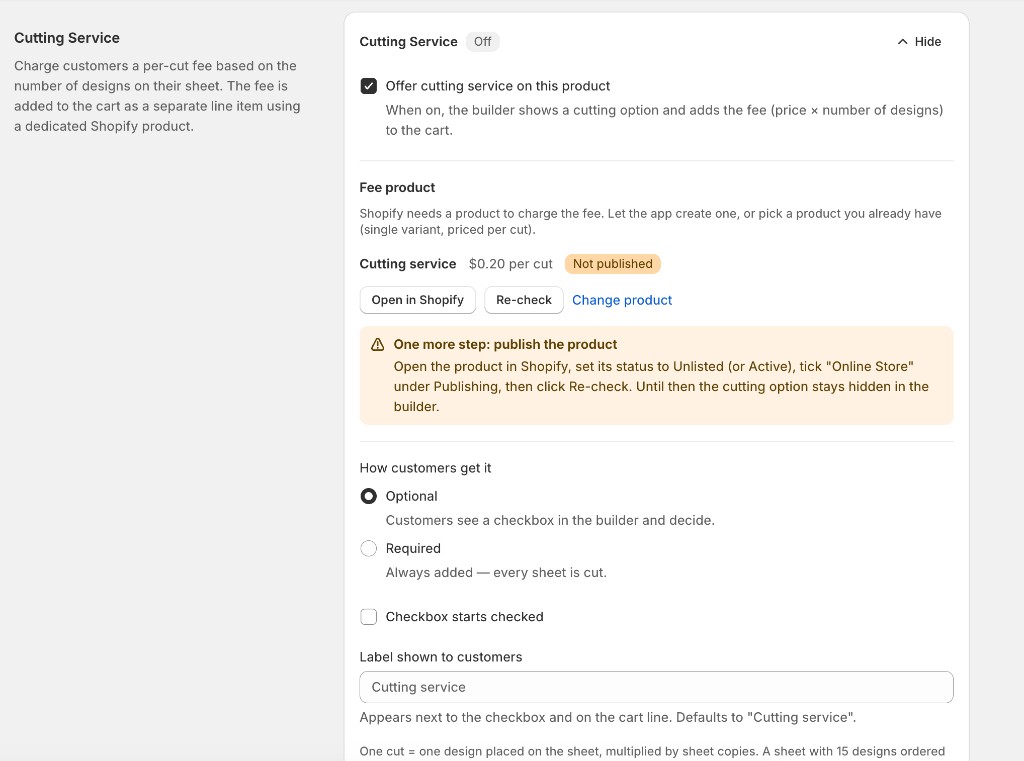
- Tick Offer cutting service on this product.
- Set up the fee product. Shopify needs a real product to charge the fee. Enter your price per cut (for example $0.20) and click Create it for me, or click Select existing product if you already have one. An existing product must have a single variant priced at your per-cut rate.
- Publish it. Gangio creates the product as Unlisted, so it never appears in your store's search or collections, but Shopify still needs it published to the Online Store before customers can buy it. Click Open in Shopify, make sure the status is Unlisted (or Active) and Online Store is ticked under Publishing, save, then come back and click Re-check. The badge switches to Published (unlisted).
- Choose how customers get it. Optional shows a checkbox in the builder so the customer decides (tick Checkbox starts checked to pre-select it). Required always adds the fee: every sheet is cut.
- Optionally change the Label shown to customers. It appears next to the checkbox and on the cart line. Then click Save cutting settings.
What customers see
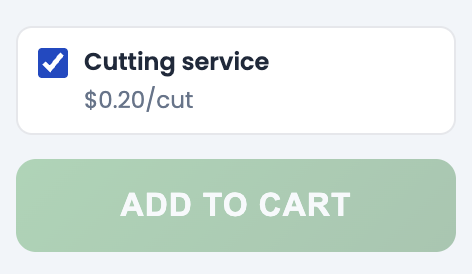
As the customer adds designs, the builder shows the live cut count and cutting subtotal next to the sheet price. When they add to cart, the sheet and a separate Cutting service line (quantity = number of cuts) go in together. If the customer edits the sheet from the cart, the cutting line is updated to match.
How cuts are counted
One cut = one design placed on the sheet, multiplied by the number of sheet copies. A sheet with 15 designs ordered twice adds 30 cuts. Duplicating a design on the sheet counts each copy, since each one has to be cut.
On your orders
Gang Sheet Orders and the Gangio block on the Shopify order page show a cutting badge on each sheet, for example Cutting: 30 cuts. If a customer requested cutting but the fee line was removed before checkout, the badge reads Cutting requested, fee not in order so you can decide whether to cut anyway.
Cutting fee revenue counts toward Gangio's 3% usage fee in the same way as sheet revenue. See Billing.
Rush order fee
Charge customers a flat fee to move a sheet to the front of the queue. It works exactly like the cutting service, with one difference: the fee is charged once per sheet, no matter how many designs are on it or how many copies are ordered. It is available on every sheet type, including Single Image, Custom Garment, and the Upload Gang Sheet card.
Setting it up
- Open the product in Gangio and scroll to Additional Options → Rush Order.
- Tick Offer rush order on this product.
- Shopify needs a real product to charge the fee. Enter your rush price per sheet and click Create it for me, or pick an existing rush product. Gangio keeps the product it creates unlisted so it never shows in search or collections.
- Publish the fee product to your Online Store when the card asks you to. The rush option only appears in the builder once the product is published.
- Choose Optional (a checkbox the customer can tick, pre-ticked if you like) or Required (added to every sheet), rename the label if Rush order isn't your wording, and Save rush settings.
- Custom Garment only: pick how the fee is counted. Once per design charges one flat fee for the order line however many garments are in the quantity grid; Per piece multiplies the fee by that garment count, so 12 shirts at a $2 rush fee adds $24. The builder shows the running total next to the checkbox, and the order badge reads Rush order × 12.
In the builder and cart
The rush option sits next to the cutting option, above Add to Cart, and shows your per-sheet price. When the customer adds to cart, the sheet and a separate Rush order line (quantity 1 per sheet) go in together, so the fee is visible at checkout and on the order. If the customer edits the sheet from the cart, the rush line follows.
On your orders
Rushed sheets carry a Rush order badge on Gang Sheet Orders and in the Gangio block on the Shopify order page, and the Rush only filter on the Orders page lists just those sheets so production can pick them up first. If a customer asked for rush but removed the fee line before checkout, the badge reads Rush requested, fee not in order. Rush revenue counts toward the usage fee in the same way as sheet and cutting revenue.
Bulk pricing (quantity breaks)
On Custom Garment products you can give a discount that grows with the order: for example 13+ garments 10% off, 25+ garments 15% off, 37+ garments 20% off. Gangio creates the discounts in Shopify for you and previews the break in the builder, so the customer sees the saving while they fill in the quantity grid.
Setting it up
- Open a Custom Garment product in Gangio and scroll to Additional Options → Bulk Pricing.
- Add your tiers: a starting quantity and a percentage off for each (up to five). Each larger quantity needs a larger discount, otherwise that tier could never apply.
- Tick Offer quantity breaks on this product and Save bulk pricing. Gangio creates one automatic discount per tier in your Shopify admin under Discounts, named Bulk pricing: 13+ items 10% off and so on.
Shared across your garment products
The tiers are set once for the whole store. Every Custom Garment product where you tick the box uses the same tiers, and editing them on any product page updates the Shopify discounts for all of them. This keeps you well under Shopify's limit of 25 active automatic discounts, and it means a customer mixing two of your garment products in one cart is counted across both.
How Shopify counts the quantity
The minimum quantity counts every eligible garment in the cart: across sizes, colors and all products using the tiers. A 24-shirt design split over six sizes qualifies for a 13+ tier. Shopify applies the single best tier, never two at once, and the tiers never stack with your other product discounts; if you run a store-wide 20% sale, Shopify gives the customer whichever discount is larger. The percentage is taken off the garment price including the print upcharge. Fee lines (rush, cutting) are never discounted.
In the builder
Step 2 of the garment builder lists the tiers above the totals, highlights the one the current quantity reaches, shows a Volume discount line, and nudges the customer toward the next break (Add 3 more for 15% off). The preview only counts the design being built, so a customer who already has garments in the cart can only do better at checkout, never worse.
Editing in Shopify
Shopify stays the source of truth. If you change a tier's percentage or quantity in the Shopify admin, the Bulk Pricing card picks up the new values the next time it loads and marks the tier Edited in Shopify. If you delete a discount, the tier shows Deleted in Shopify and saving the card recreates it. Scheduled or expired discounts, and discounts you allowed to combine with other product discounts, are flagged the same way with an Open in Shopify link. Turning bulk pricing off on a product, unassigning it, or switching it to another sheet type removes it from the discounts; the discounts themselves stay in your Shopify admin as ordinary automatic discounts, also if you uninstall Gangio.
Theme setup & storefront buttons
Customers interact with Gangio on your storefront product pages. Two theme steps are required:
1. Enable the app embed
In Shopify, go to Online Store → Themes → Customize, open App embeds, and enable Gang Sheet Builder. Without this, the builder cannot load on your store.
2. Add app blocks to your product template
Still in the theme editor, open a product template and add the Gangio blocks that match your sheet types:
- Build It: fixed-size and rolling multi-image products.
- Upload Image: single-image products.
- Add Images: EZ Auto-Build products.
- Upload Gang Sheet: optional, for customers uploading a ready-made sheet file.
The Dashboard setup guide includes one-click links that open the theme editor with the right block ready to add. Watch the Build It Buttons tutorial for a full walkthrough.
Custom themes that edit Liquid
If you edit your theme's Liquid, or you build the product page in GemPages, PageFly, Shogun, or another builder that accepts custom Liquid, place the buttons with the snippets below. The Gang Sheet Builder app embed still has to be on, and the product still has to be configured in Gangio.
Place an empty mount point
Paste this where the button should appear, usually in the product form near the buy buttons:
Then in Gangio, open Settings → Theme compatibility, click Show advanced options, and set Custom placement selector to:
Save. On a configured product page, Gangio draws the button inside that div. The label, colors, corner radius, font size, and special effect come from Settings → Build It Button, and the link follows the variant the customer selects. Gangio also picks the right button for the product's sheet type: Build It, Upload Image, Add Images, or Customize this garment.
Paste a Build It button into the theme
Use this when you want the button written into the theme itself. Paste it into a product template, where product is available:
Change the label by editing the text Build It. Change the look with these values in the style attribute:
--gsb-btn-accent: background color. Default#2563eb.--gsb-btn-text: text color. Default#ffffff.--gsb-btn-radius: corner roundness. Default8px.--gsb-btn-font-size: font size. Default18px.
This markup is the multi-image Build It link. It includes data-gsb-block="true", so Gangio leaves this button in place and skips adding another Build It button on the same page. The label and colors are the ones in the snippet. Single-image, EZ Auto-Build, and Custom Garment products use the mount point above, which picks the button for the sheet type.
Button special effects
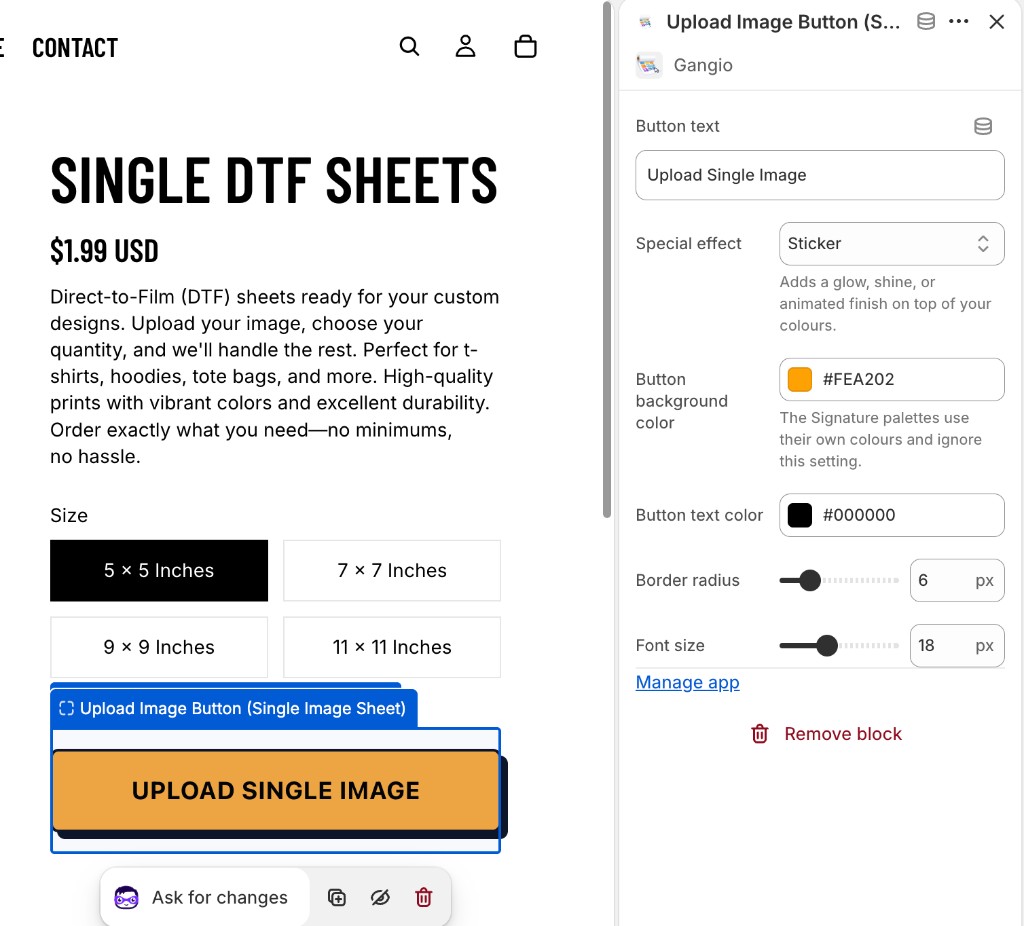
Every Gangio button can carry a special effect: a glow, a shine, a metal finish, or a bit of motion to draw the eye. Select the block in your theme editor and pick one from the Special effect dropdown. The setting is saved on that block, so each button can have a different effect: a Sticker finish on Upload Image and a plain Soft Glow on Build It, for example.
What each effect looks like
These are live samples, not pictures: what you see below is exactly what your storefront renders. Hover any button to see its hover state.
Glow
Soft Glow
Pulse Glow
Underglow
Shine & reflection
Glossy
Shine Sweep
Depth & material
Sticker
Beveled 3D
Signature palettes
Gold Foil
Rose Gold
Prism
Sunset
Aurora
Motion & attention
Gradient Flow
Border Beam
Heartbeat
Your button text, colors, corner radius, and font size all still apply on top of the effect, so an effect never overrides your branding.
If you rely on Gangio placing the button for you instead of adding an app block, set the effect once under Settings → Build It Button and it applies wherever the button is injected.
Settings
Open Settings in Gangio to customize how the builder looks and behaves for your customers.
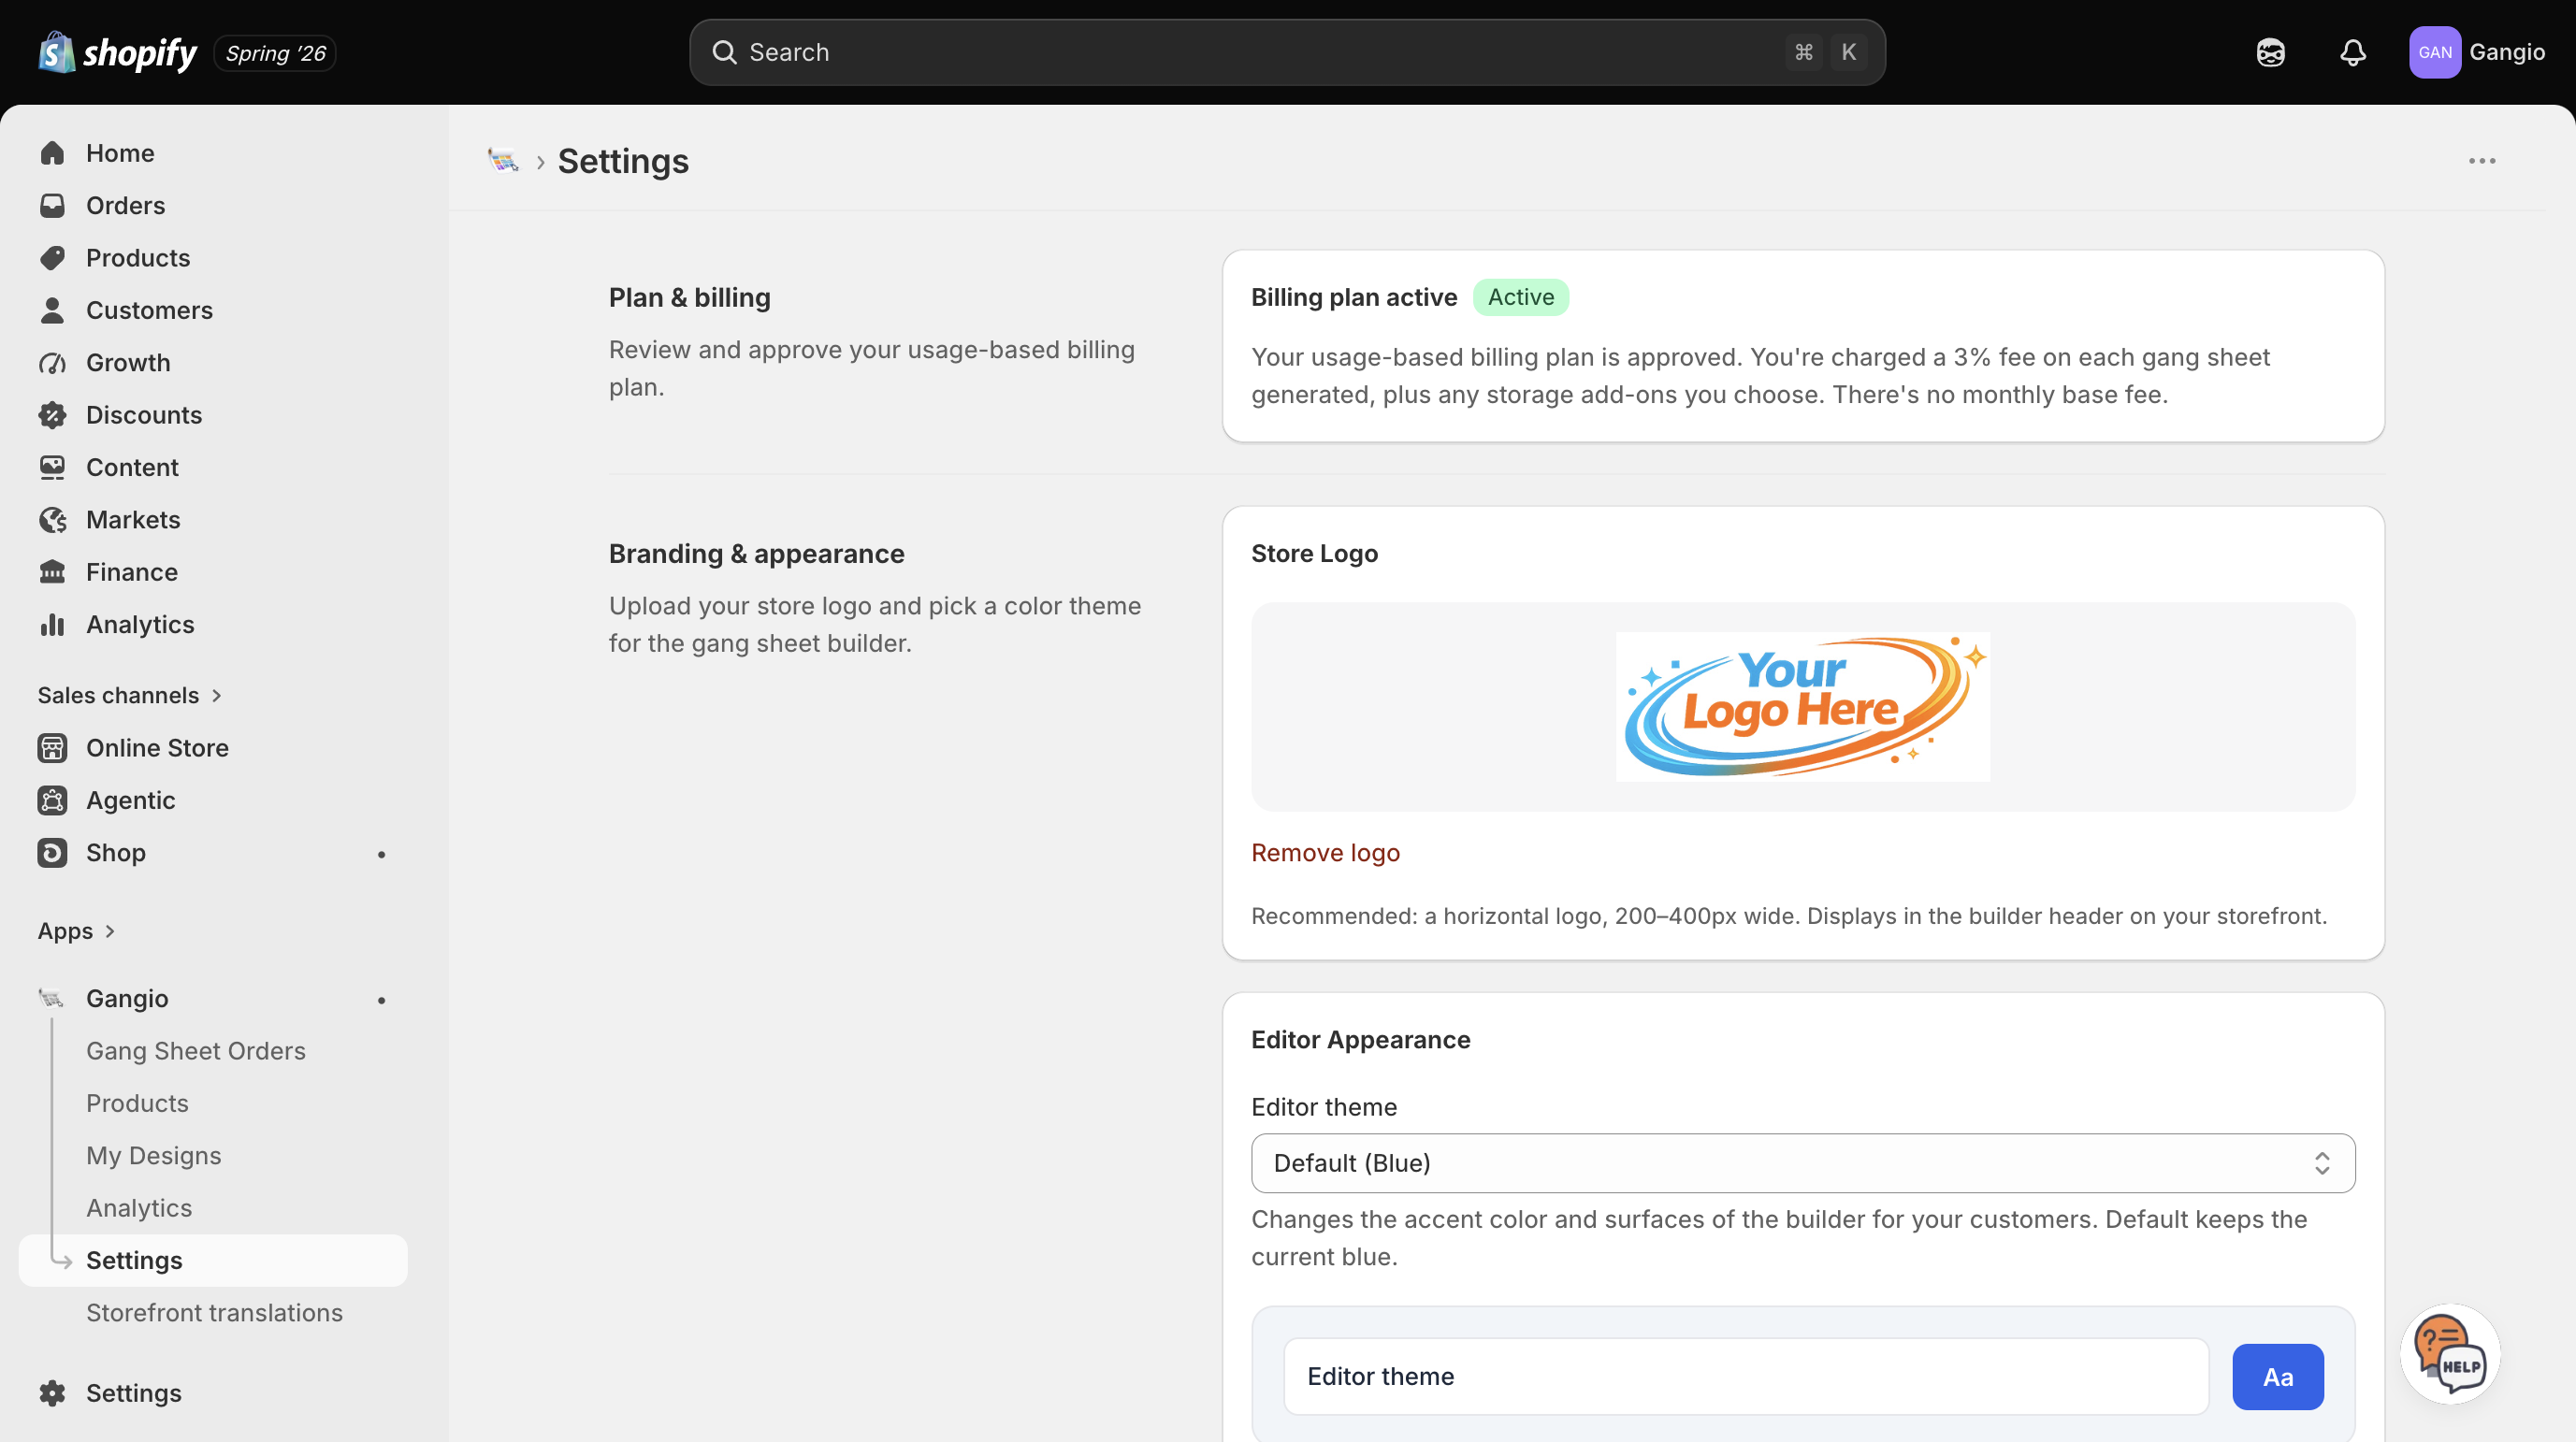
- Plan & billing: review and approve your usage-based plan (3% per gang sheet fulfilled, 7-day free trial).
- Branding & appearance: upload a horizontal store logo (shown in the builder header), pick an editor accent color, and choose the canvas background: the classic checkerboard or a light dot grid. The dot grid helps when customers upload images with a checkerboard already baked in and mistake it for a transparent background.
- General: allowed file formats, max upload size, background removal, DPI warnings, and more.
- Build It button: customize button text, colors, border radius, font size, and special effect with a live preview.
- Theme compatibility: presets for popular themes, or a custom placement selector when you paste the mount point from Theme & buttons.
- Language & currency: set the builder language and unit display (inches vs cm).
- Print File Header: optionally stamp order details on every downloaded gang sheet (see below).
Print File Header
Turn on Print File Header in Settings to print a slim text band above the design area of every print-ready gang sheet. Use it to match printed sheets to orders at a glance, without relying on filenames alone.
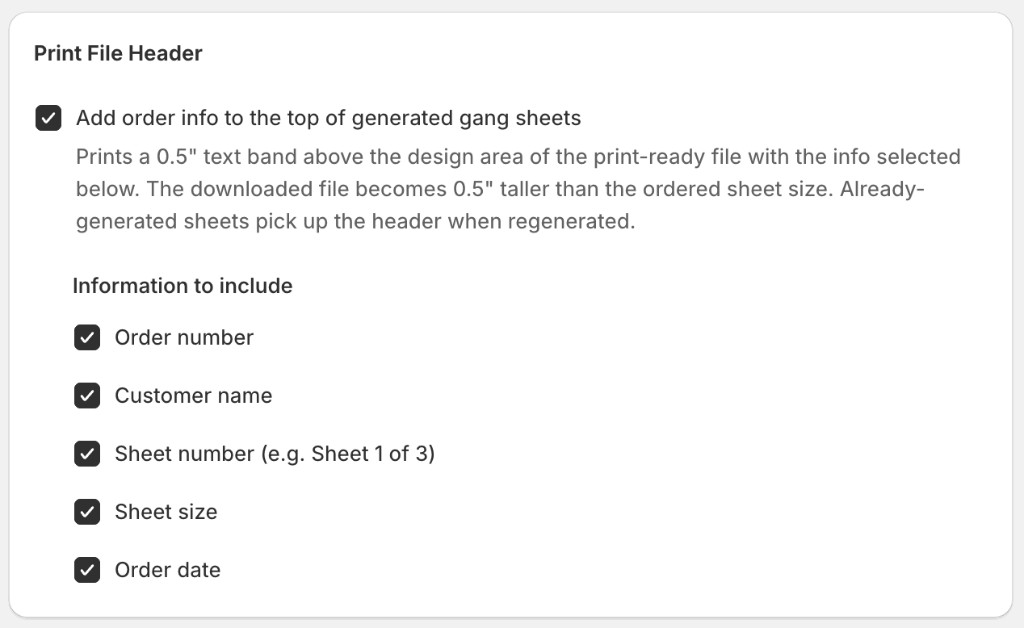
When enabled, Gangio prints a 0.5" text band above the design area. The downloaded file is 0.5" taller than the ordered sheet size. Sheets that were already generated pick up the header the next time they are regenerated.
Under Information to include, choose any combination of:
- Order number
- Product name, so sheets for different products don't get mixed up in production
- Variant name
- Customer name
- Sheet number (for example, Sheet 1 of 3)
- Sheet size
- Order date
Text colour defaults to black, which prints best on DTF film. Some image viewers and RIP previews show transparent areas as black, which hides black text; if your team previews files that way, switch to gray, white, or magenta. The band behind the text is always transparent, so no ink or film is spent on it.
Product and variant names are recorded when an order is placed, so they show what the customer bought even if you rename the product later. Orders placed before this option existed fall back to the current product title and size name. Names longer than 48 characters are shortened, and Images Auto-Build sheets show the product name only.
My Designs
Upload artwork your customers can place on gang sheets from a Designs library in the builder. Organize files into categories, toggle the Designs button on your storefront, and optionally enable a preview-only watermark to protect your artwork.
Orders & downloads
When a customer orders a gang sheet, it appears on Gang Sheet Orders. Click Download to get the high-resolution print-ready PNG. Orders move to Downloaded once picked up, so your team knows what's been fulfilled.
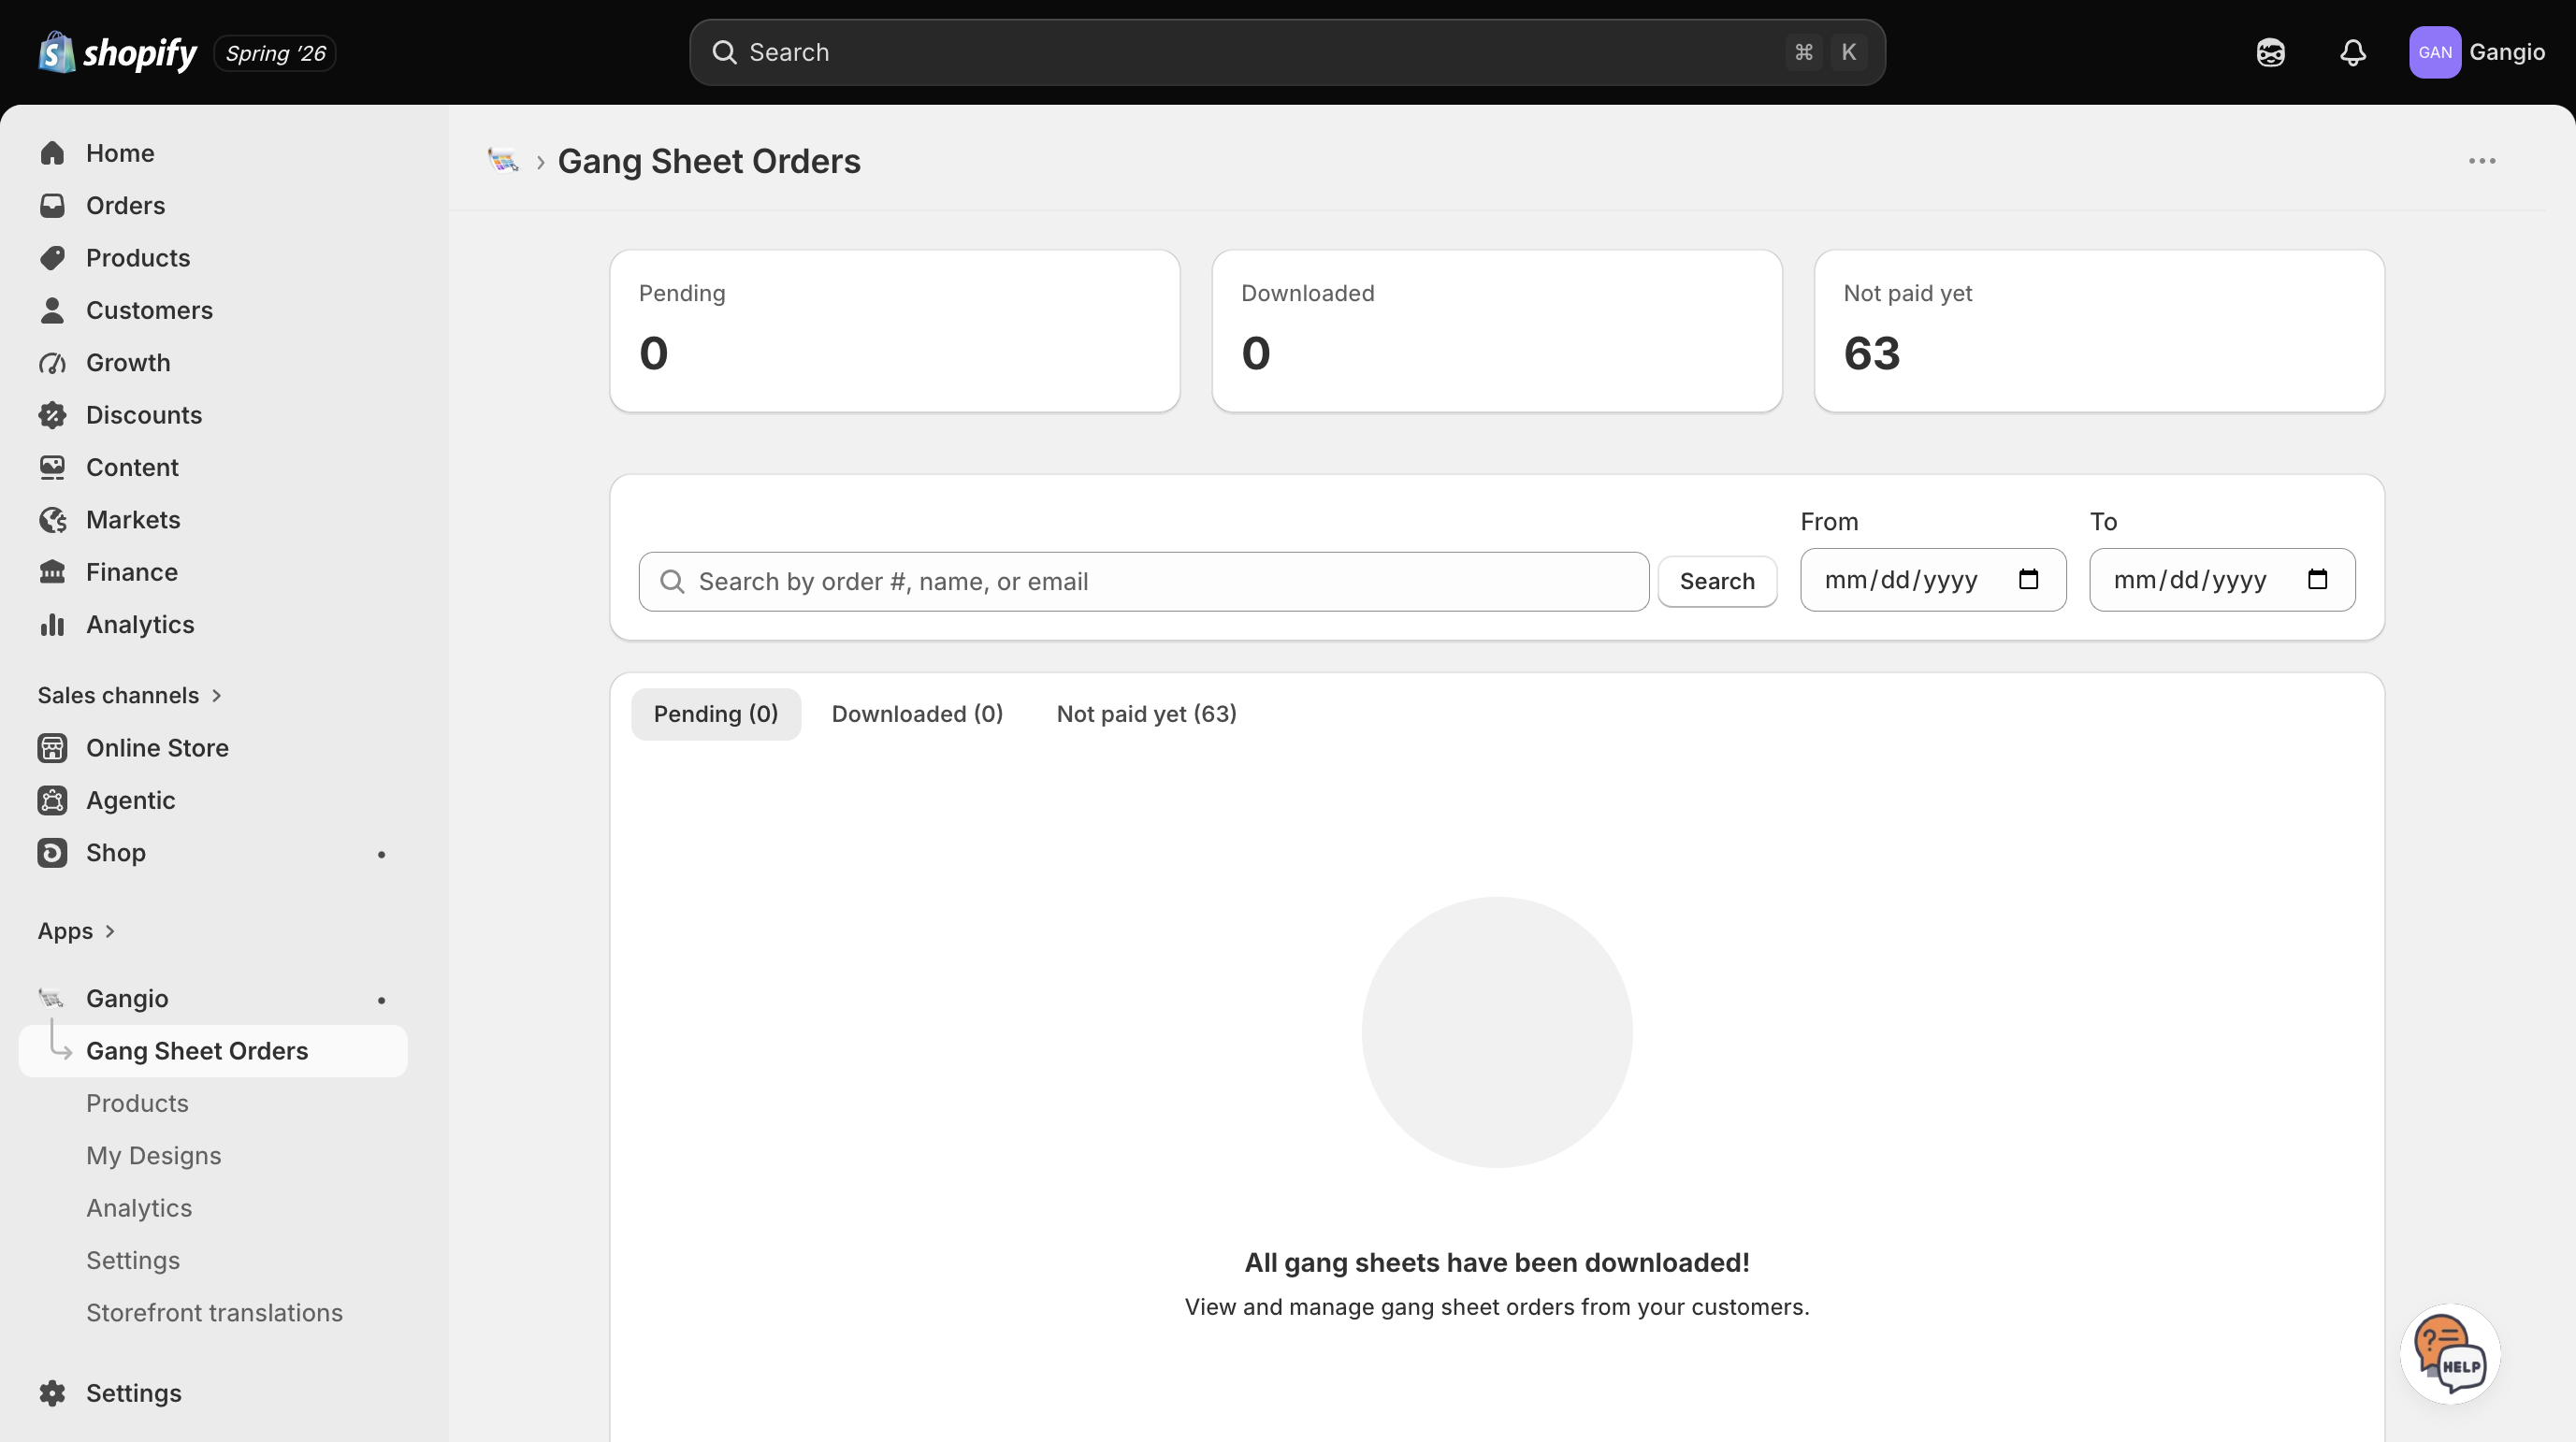
- Pending: new gang sheets ready to download.
- Downloaded: files your team has already picked up.
- Not paid yet: orders placed but payment not captured (useful for invoicing workflows).
Re-downloads are always free. Large files download directly from secure cloud storage for reliability.
Billing
Gangio is free to install with a 7-day free trial. After that you pay 3% per gang sheet fulfilled: no monthly base fee. Storage starts at 100 GB free; add blocks in Settings if you need more.
- Approve your billing plan in Settings before going live.
- Set a monthly usage cap in Shopify if you want a spending limit.
- Gang sheet copies and re-downloads do not incur extra fees.
- If you charge a cutting service fee, the 3% applies to the sheet price plus the cutting fee for that sheet.
- Custom Garment designs are billed once per design on the full line value (blanks plus print for every garment ordered), and that fee is capped at $25 USD per design, so a large bulk order never costs more than $25.
Frequently asked questions
Customer-facing help
Share the shopper guide with your customers so they know how to upload designs, use Auto Build, and add gang sheets to cart: gangio.com/help